Schema Management
In this chapter we will discuss what actions can be done with the schema and how it can be edited and published. Also, you will learn about schema structure and how to assign a binder.
Schema Actions
A schema can be edited, duplicated, or removed. To perform these actions, hover over the three dots on the right of the field and select Edit, Duplicate, or Remove.

Duplicate Schema
To create a copy of the schema, click Duplicate, and the exact copy will be created. The copy will have the original name, plus the word copy.

Remove Schema
The schema will be deleted if Remove is clicked.
{info.fa-info-circle} You cannot delete a schema, if at least one quote was created from it.
Edit Schema
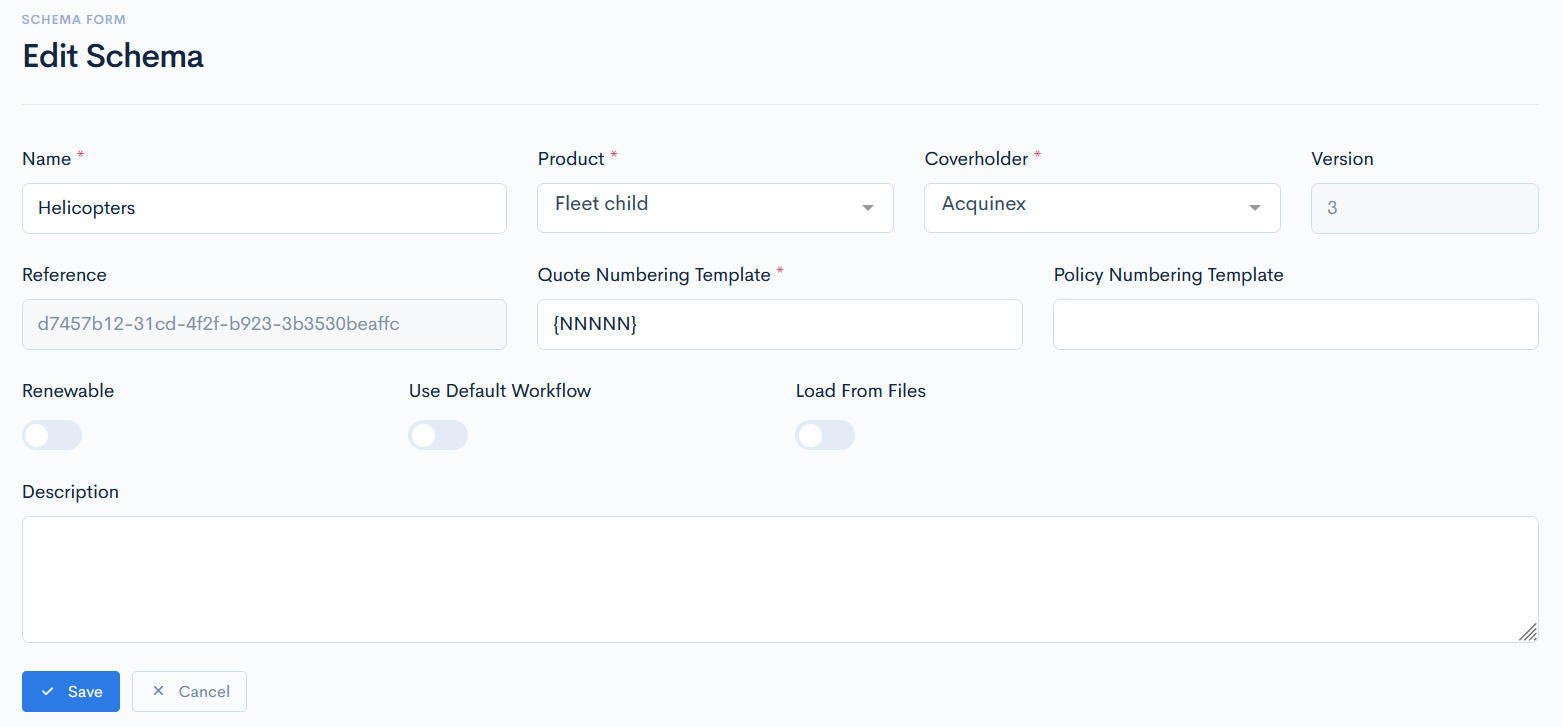
To edit schema, click Edit and you will be redirected to the schema form, which you filled when creating it.
{info.fa-info-circle} A published schema can no longer be modified, if in the settings schema_publishing is enabled. If disabled, then schema can be editted no matter what status it has.
Schema Details
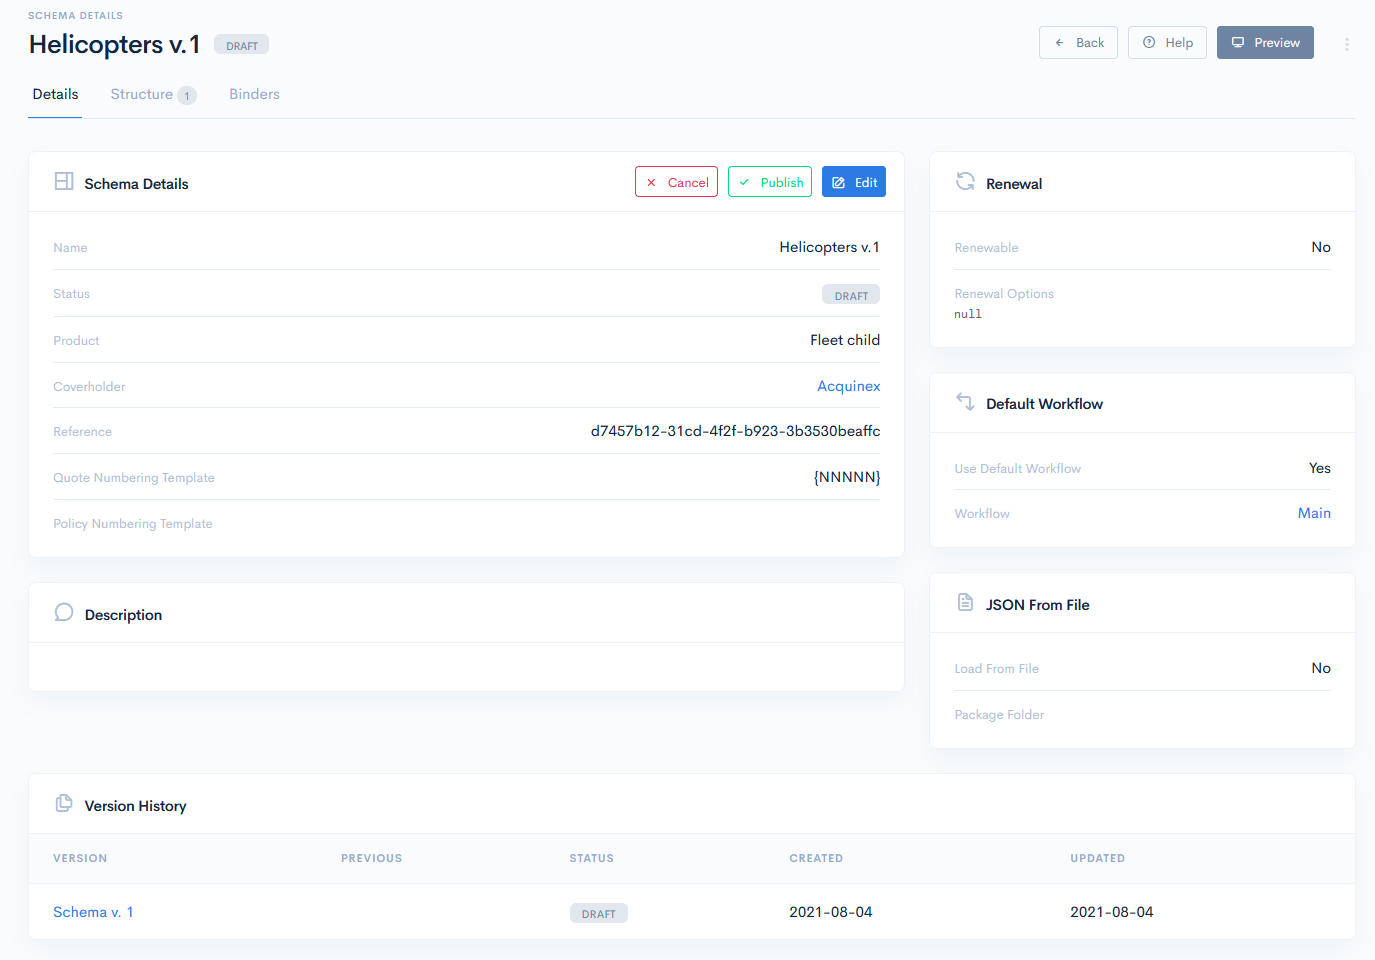
After you have created a new schema or clicked the name of an existing one in the list, you will be redirected to the Schema Details page, which gives some basic details, parameters and a version history of your schema.
This page has the following sections:
- Schema Details - edit schema info and publish or cancel schema. Click the Edit, Publish or Cancel buttons accordingly.
- Renewal - check whether the schema is renewable or not.
- Default Workflow - shows which workflow is being used for the schema. Click the workflow name to see its details.
- Description - shows some notes, if they were added when creating the schema.
- JSON from file - gives the file path, if schema configuration was loaded from a file.
- Version History - check every version of the schema, that was registered.
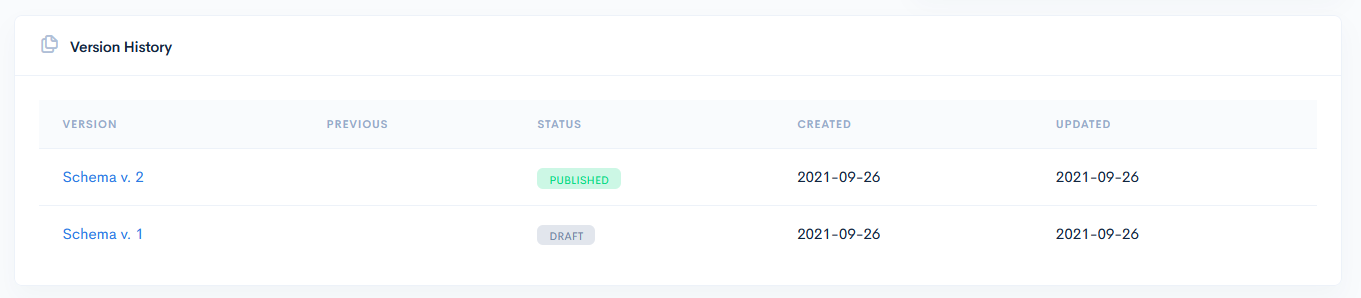
Version History
Every newly created schema gets the Draft status, which means, that a schema can be modified without creating any new versions. Published schemas can also be modified, but you have to be careful, as all created quotes from it will receive those modifications too. Canceled versions cannot be modified and you must create a new version.
To create a new schema version, in the Version History section click the Create Version button. A new incremented version with the Draft status will be created, which can be modified. The Previous column shows the previous version of the current schema, which is also available for editing.
{info.fa-info-circle} All the quotes created from the old schema version will stay assigned to the old version, but the version itself will be unavailable for modifications.
Each schema change or update is handled using its own versioning logic. Once the quote is using a particular version, we should ensure consistency – that it will be finished in the same version and no structural changes will be applied during the quotation process.
Schema versioning logic has following rules:
- One published. Schema can have only one Published version, when publishing a new schema version, previously published becomes Canceled.
- One draft. Schema can have only one Draft version, when creating a new schema version, any Draft do not exist anymore.
- Published means locked. Nor user, neither super users can modify the published schema version, so we make sure, that all ongoing quotes will not be corrupted, and no data will be lost.
- Allow to finish. If the quote is already started, then it could be fully finished (transitioned to the final stage of Issued or Declined) in the same schema version.
- New on published. New quotes can be created only for the current Published or Canceled version.
Schema Structure
Schema structure is the basis of a quote and working with it is the most complicated and challenging part of the system. Schema structure is assigned to a schema version and it is defined in the JSON format, which provides you with the following possibilities:
- Create various fields for the quote input form
- Customize display of defined form fields
- Define dependencies between the form fields
- Map form fields to create a document based on the form
To access the structure, click the Structure tab of your required schema and you will be redirected to the Structure Parts page.
Any schema structure is a JSON format file or a bunch of JSON files. These files can be seen in the editor left panel. When you select a file in the list, the content is displayed in the editor. Each schema must contain index.json as the root structure file, which should have the root uiType:quote element. For more on the uiTypes, see uiTypes.
Basic Schema
When a schema is created, firstly it has a basic structure with the schema label and default properties, such as client, premium and save. These properties define names, type of the fields, their length, also buttons.

This structure will give you a basic quote, where you enter client name, his premium, and save. To check how the quote will look like, click the Preview button.

Complex Schema
Schema structure can be customized by your own needs, just make sure, that the root file is always present. To create a more complex quote, you can add a lot of things, starting from various API integrations, to drop-down lists and questionnaries.
Example of a complex schema:

Reference Parts
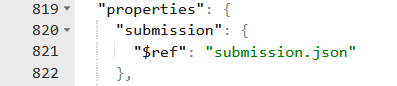
As everything is parsed from a main JSON file, in complex quotes the structure could look really big, cluttered and hardly readable. It is really useful to structure the schema into parts that can be reused in a number of places. In this case, additional JSON files are created and referred in the root file with a $ref keyword. A JSON pointer to the other part is created and the code is taken from there when parsing. This way, the index file becomes simplified.
Reference structure: $ref: partName.json.
Where partName is the name of your additional JSON file, which contains the data referred to the root file.
{info.fa-info-circle} The number of additional JSON files is unlimited.
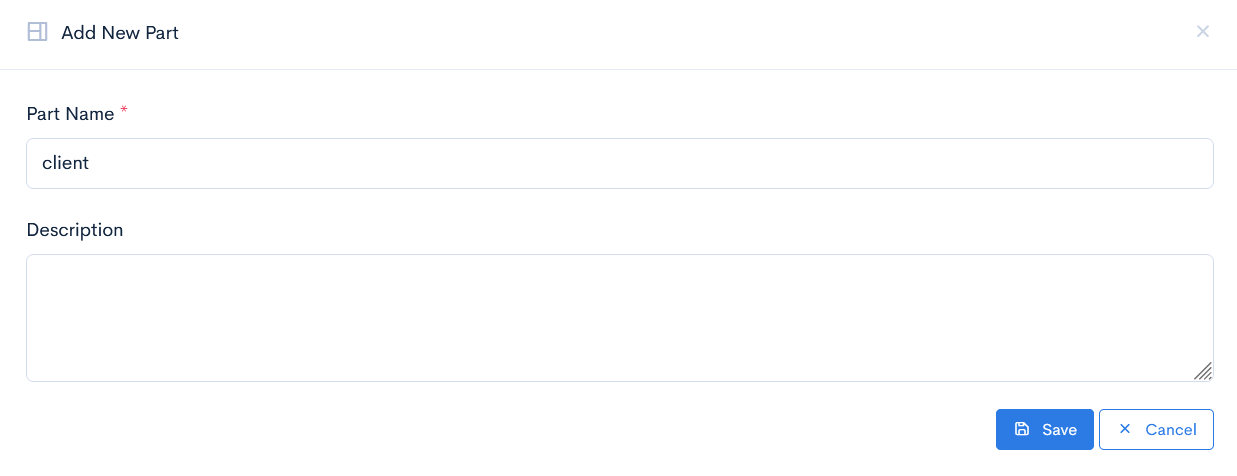
Add New Part
To add a new part to the structure, click the New Part button. The Add New Part window will open. Enter the Part Name and Description (optional). Click Save. Now this new part has appeared in the file list.
Delete
To delete a part, click the Delete button.
To delete the whole schema, hover over the three dots and click Delete.

Import
Instead of writing the structure code right into the editor, you can import in advance created JSON files. To do this, hover over the three dots and click Import.

The Import as New Version window will appear. Drag and drop from your PC a .zip file, which contains .json extension files. Click Import. All files will appear in the structure list.
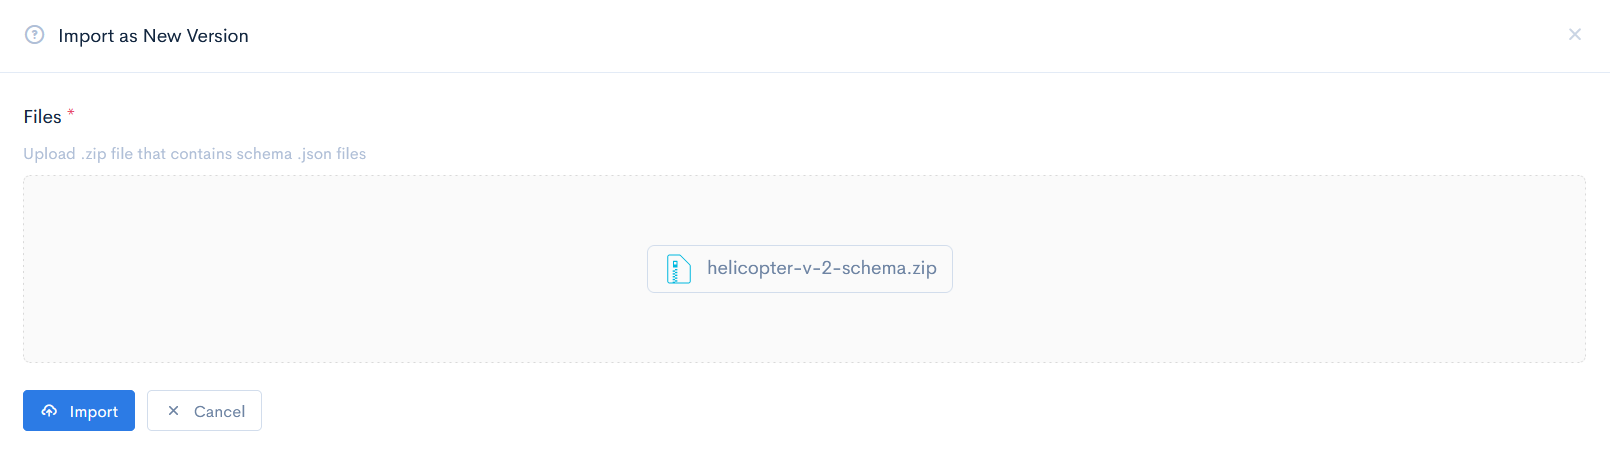
{info.fa-info-circle} When importing files, a new schema version is created.
Export
If you require to have the schema structure saved somwhere else, you can export those files into a one .zip file and download it. To do this, hover over the three dots and click Export JSON. The system will automatically compress all files and will offer you a download.

Schema Binders
To every schema a binder can be linked. For more inforamtion, see Binders.
On the main schema page click the Binders tab and the binders list will open.
The binders list has the following columns:
| # | Binder priority. The binder with a priority 1 will be the first in the quotes Binder drop-down list. |
| UMR | Unique Market Reference (binder number). Note: You can sort the list by number in ascending or descending order, if you click on UMR. |
| Name | Binder name. Note: You can sort the list by binder in ascending or descending order, if you click on Name. |
| Product | Product, assigned to the binder. |
| Tag | Unique identifier of a binder, which is used for value mapping in schemas. Note: You can sort the list by tag in ascending or descending order, if you click on Tag. |
| Period | Date when the binder is in force. |
| Underwriter | Assigned underwriter. |

Assign Binder
To assign a new binder to schema, click the Assign Binder button. In the new window from the drop-down list select one of the Binders, give a Priority to it, and if you require, set it as default. Click Save.
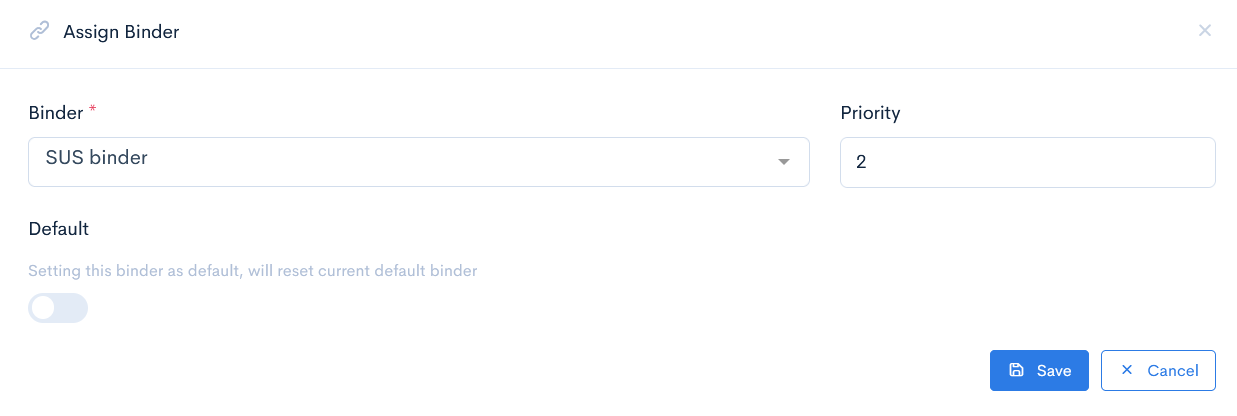
{info.fa-info-circle} Setting a binder as default, will reset the current default binder.
{info.fa-info-circle} It is possible to assign multiple binders to the schema. After the binder assignment, your quote will have a new field, where you will be able to select from binders, that are assigned.
Delete Binder
To delete a binder, hover over the three dots and click Delete.

Schema Workflows
When creating a schema, you can select whether to use the default workflow or not. By default, Use Default Workflow is enabled. To change it, in the main schema page click the Edit button to open the Edit Schema window. Disable the Use Default Workflow button and click Save.
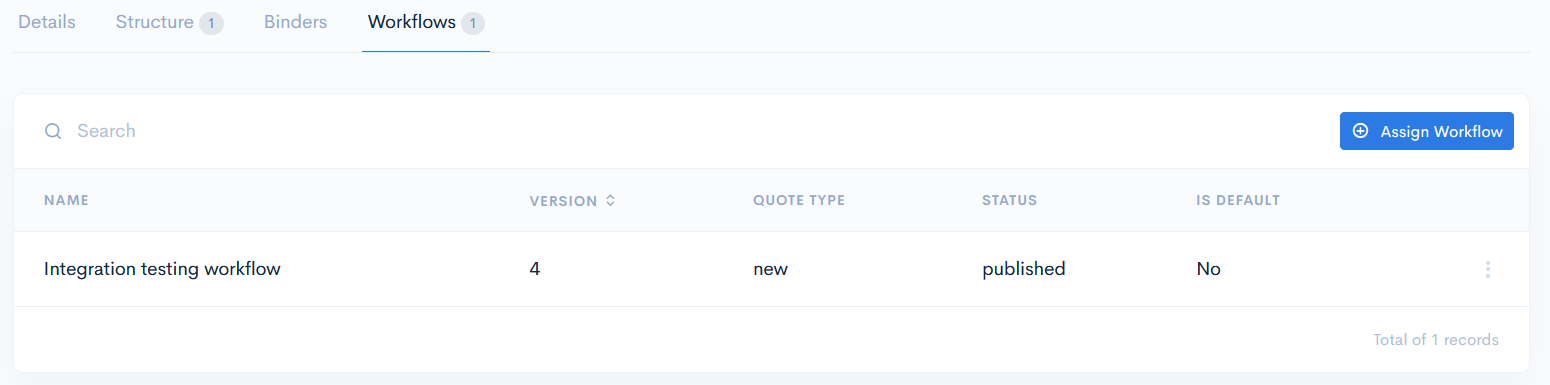
The separate tab Workflows will appear on the main schema page. Click this tab and you will be redirected to the workflows list.
The binders list has the following columns:
| Name | Workflow name. |
| Version | Which workflow version is used. Note: You can sort the list by version in ascending or descending order, if you click on Version. |
| Quote type | To which quote type this workflow is assigned. |
| Status | Workflow status. |
| Is Default | Defines whether this workflow is default or no. |
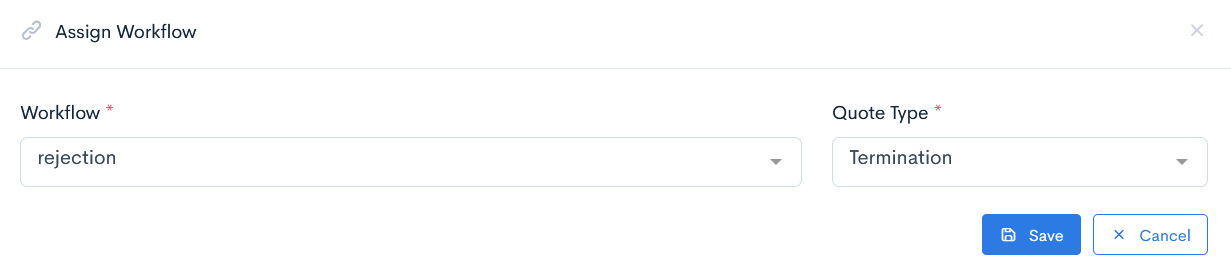
Assign Workflow
Click the Assign Workflow button. In the new window from the drop-down list select the required specific Workflow and Quote Type. Click Save.
Delete Workflow
To delete a workflow, hover over the three dots and click Delete.
