Create User
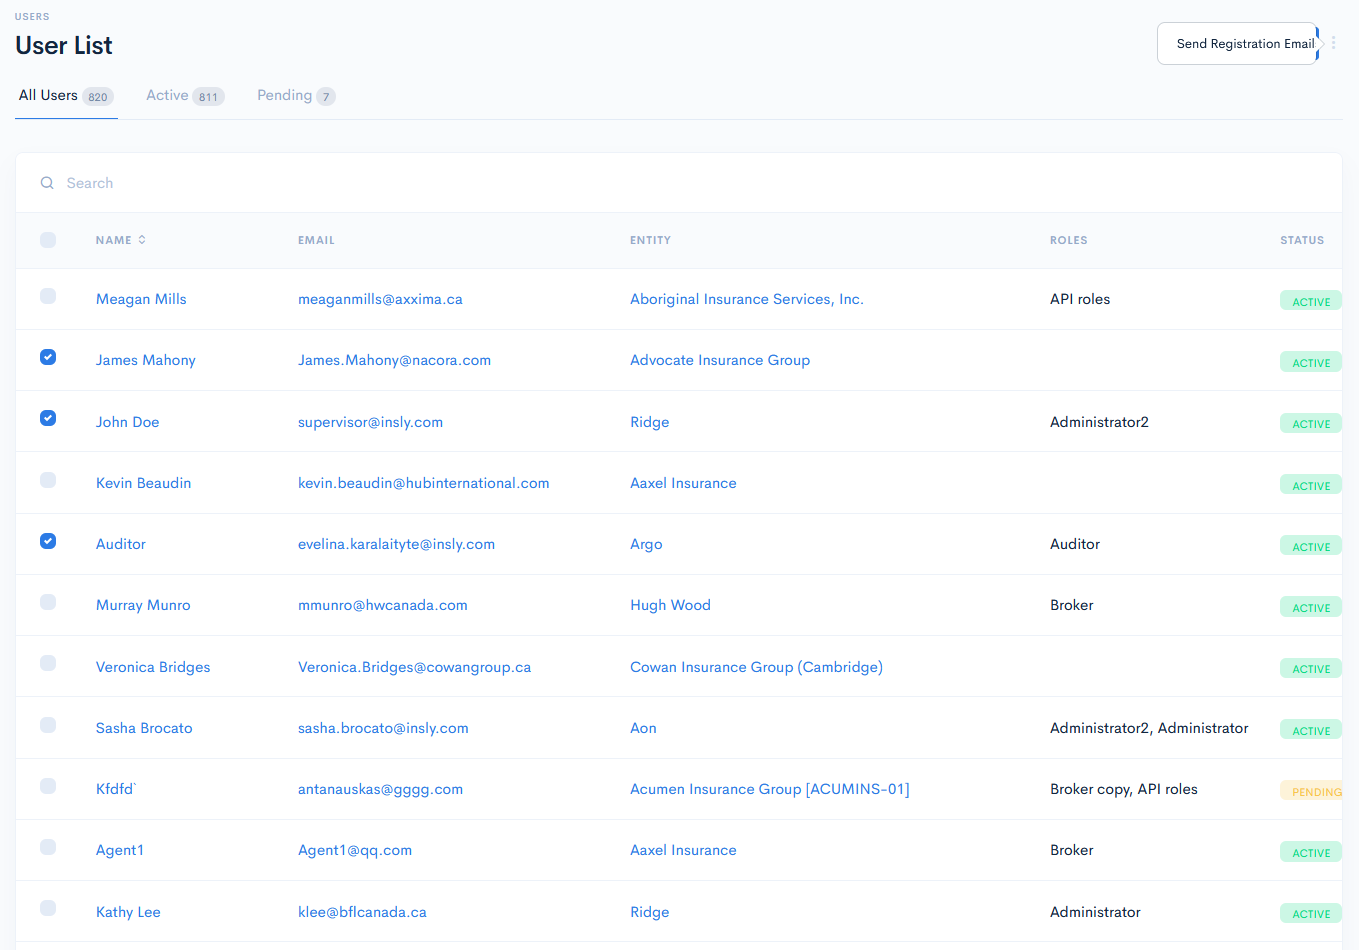
To create a new user, click the Create User button.
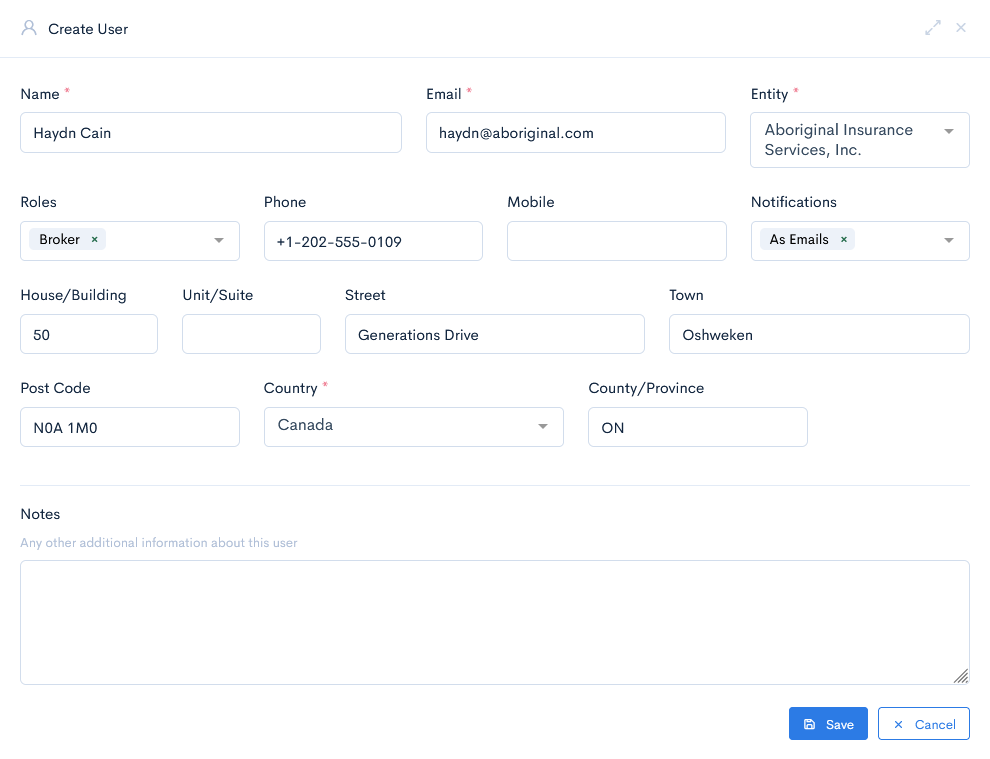
A new Create User window will appear. The following information should be filled in:
| Name | User name. |
| Email, which will be used to sign in to the account. Note: If your browser has an auto fill-in functionality enabled, then an already used email in the instance might be automatically filled in the field. |
|
| Entity | Select an entity from the drop-down list. |
| Role | Select a role from the drop-down list. More than one role can be selected. Note: If no roles are selected, then the user will not be able to login, but its information will be still available to map into the quotes. List of currently created roles can be found in the Roles List. If a current list of roles is not sufficient – create a new one with the necessary permissions or duplicate the existing one. |
| Phone | Enter the landline number, if you have such. |
| Mobile | Enter the mobile phone number. |
| Notifications | Select how the user will receive notifications. Possible options:
|
| Address House/Street/Town/Post Code | Enter user address. |
| Country | Select user country from the drop-down list. |
| County/Province | Enter user county address. |
| Notes | Enter any additional notes about the user. |
Click Save. Now the user will appear in the list.
{info.fa-info-circle} Fields marked with a red asterisk (*) are mandatory.
Send Registration Email
Every registered user has to create a password by himself. To do so, you have to send a registration email where a registration link will be added. After clicking that link, the user will enter the password. In the users list select which users have to receive the registration email by ticking the checkboxes. Hover over the three dots on the next to the Back button and click Send Registration Emails.