Dataset Management
In this chapter we will discuss how to edit a dataset, and create/import a new item. Click on the dataset name and you will be redirected to its page.
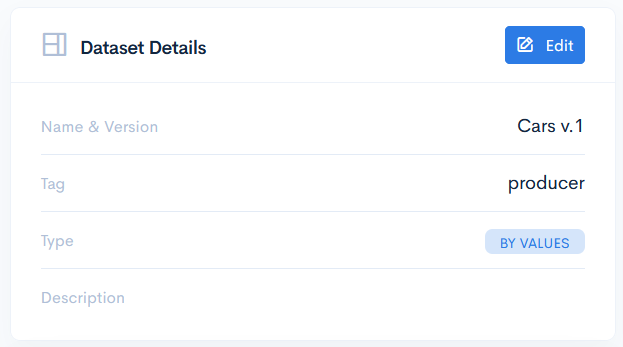
Edit Dataset
To edit the dataset, click the Edit button in the Dataset Details section. You will be allowed only to change the name and the description.
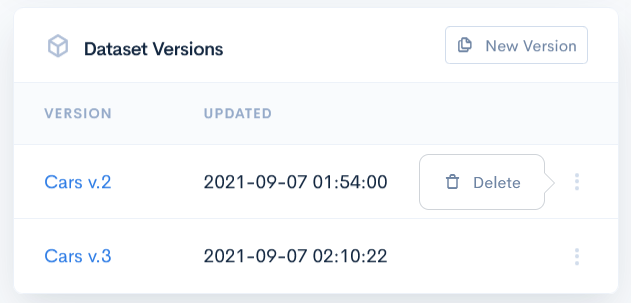
Dataset Versions
If you click the New Version button in the Dataset Versions section, then the dataset will gain an incremented version. The exact date ant time of the new version is show in the Updated column.
To remove the version, hover over the three dots on the right of the field and click Delete.
{info.fa-info-circle} If there is only one dataset version and you click the Remove button on it, then the whole dataset will be deleted.
Create Item
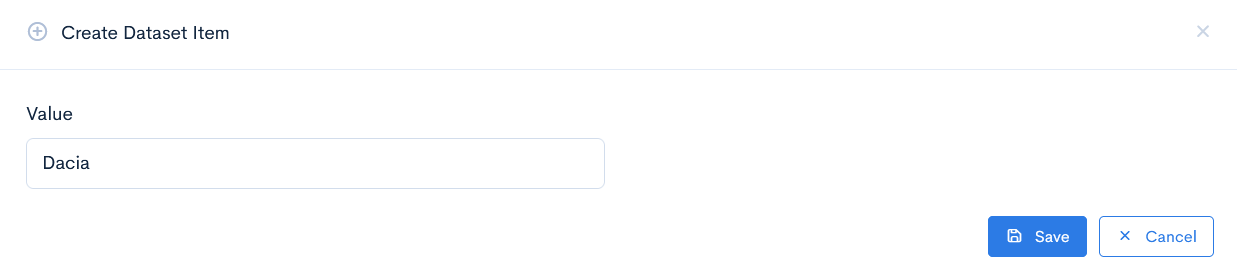
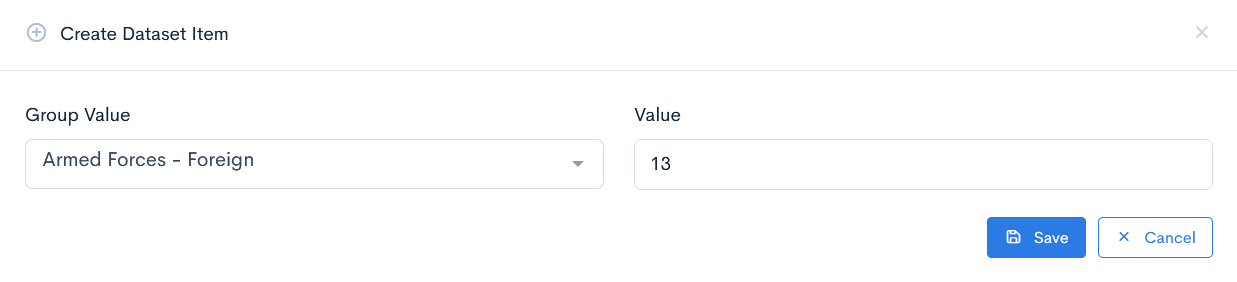
To add an item to the dataset, click the Create Item button. If the dataset does not have any parent, enter the Value (and Key, if applicable) name. Click Save. The new item will appear in the list.
If it happens that the dataset is a child of another dataset, then you will be asked to select the group value, to which the new value belongs. Group value is simply a value of a parent dataset.
{info.fa-info-circle} In the Updated column you can check the exact date ant time of the item creation. If a new version was assigned to the dataset recently, then each row will show the date of the assignement.
Import Items
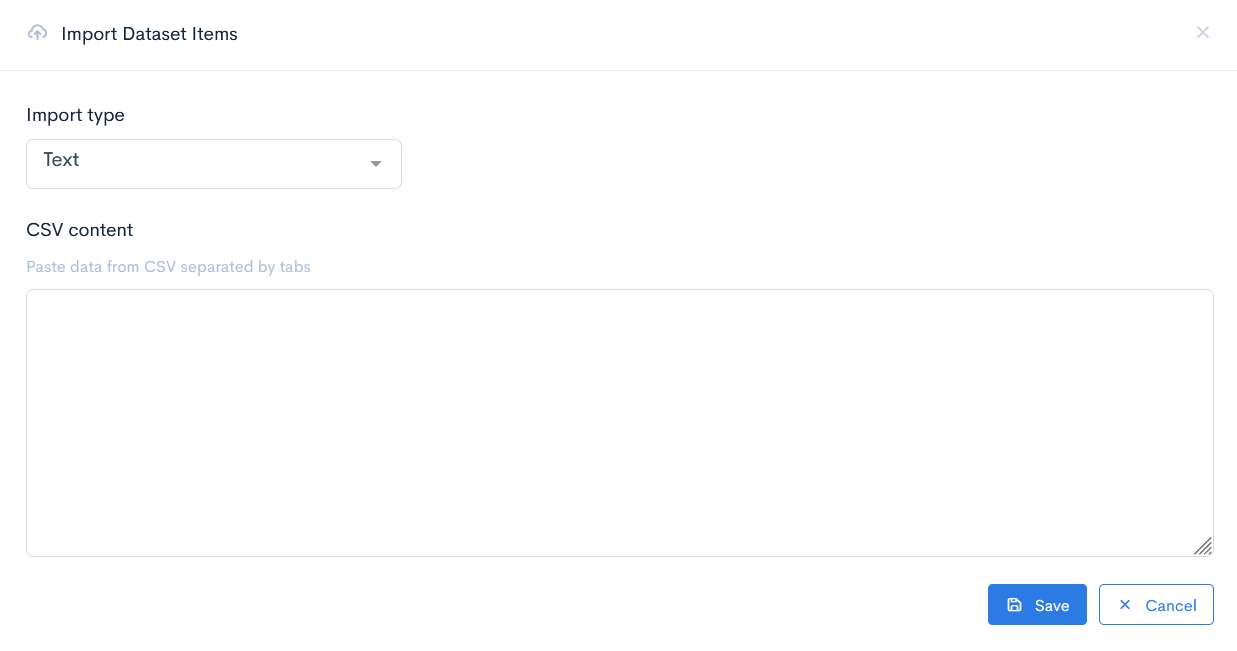
Another option of adding items is to import them. Click the Import Items button. In the new window select the Import type: File or Text.
If you selected File, then it is required to upload a .xslx type of file. Click Upload.
If you selected Text, then paste the content from the .csv type of file into the CSV content field. Click Upload.
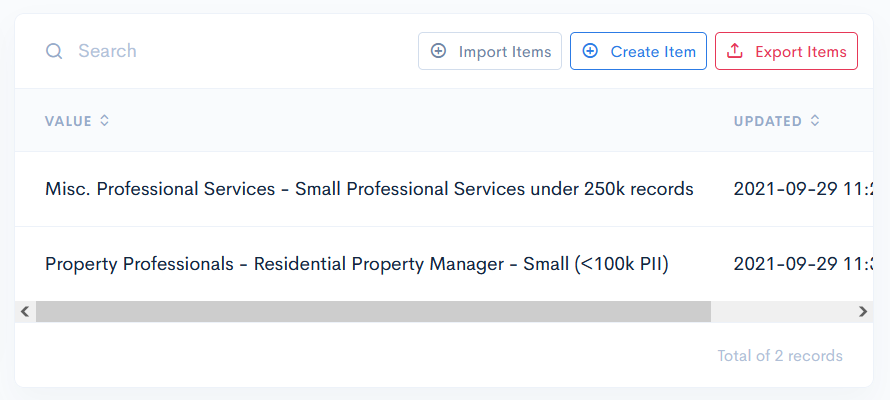
Export Items
If you need the dataset in your PC, then you can export it by clicking the Export Items button. An .xlsx file will be downloaded.
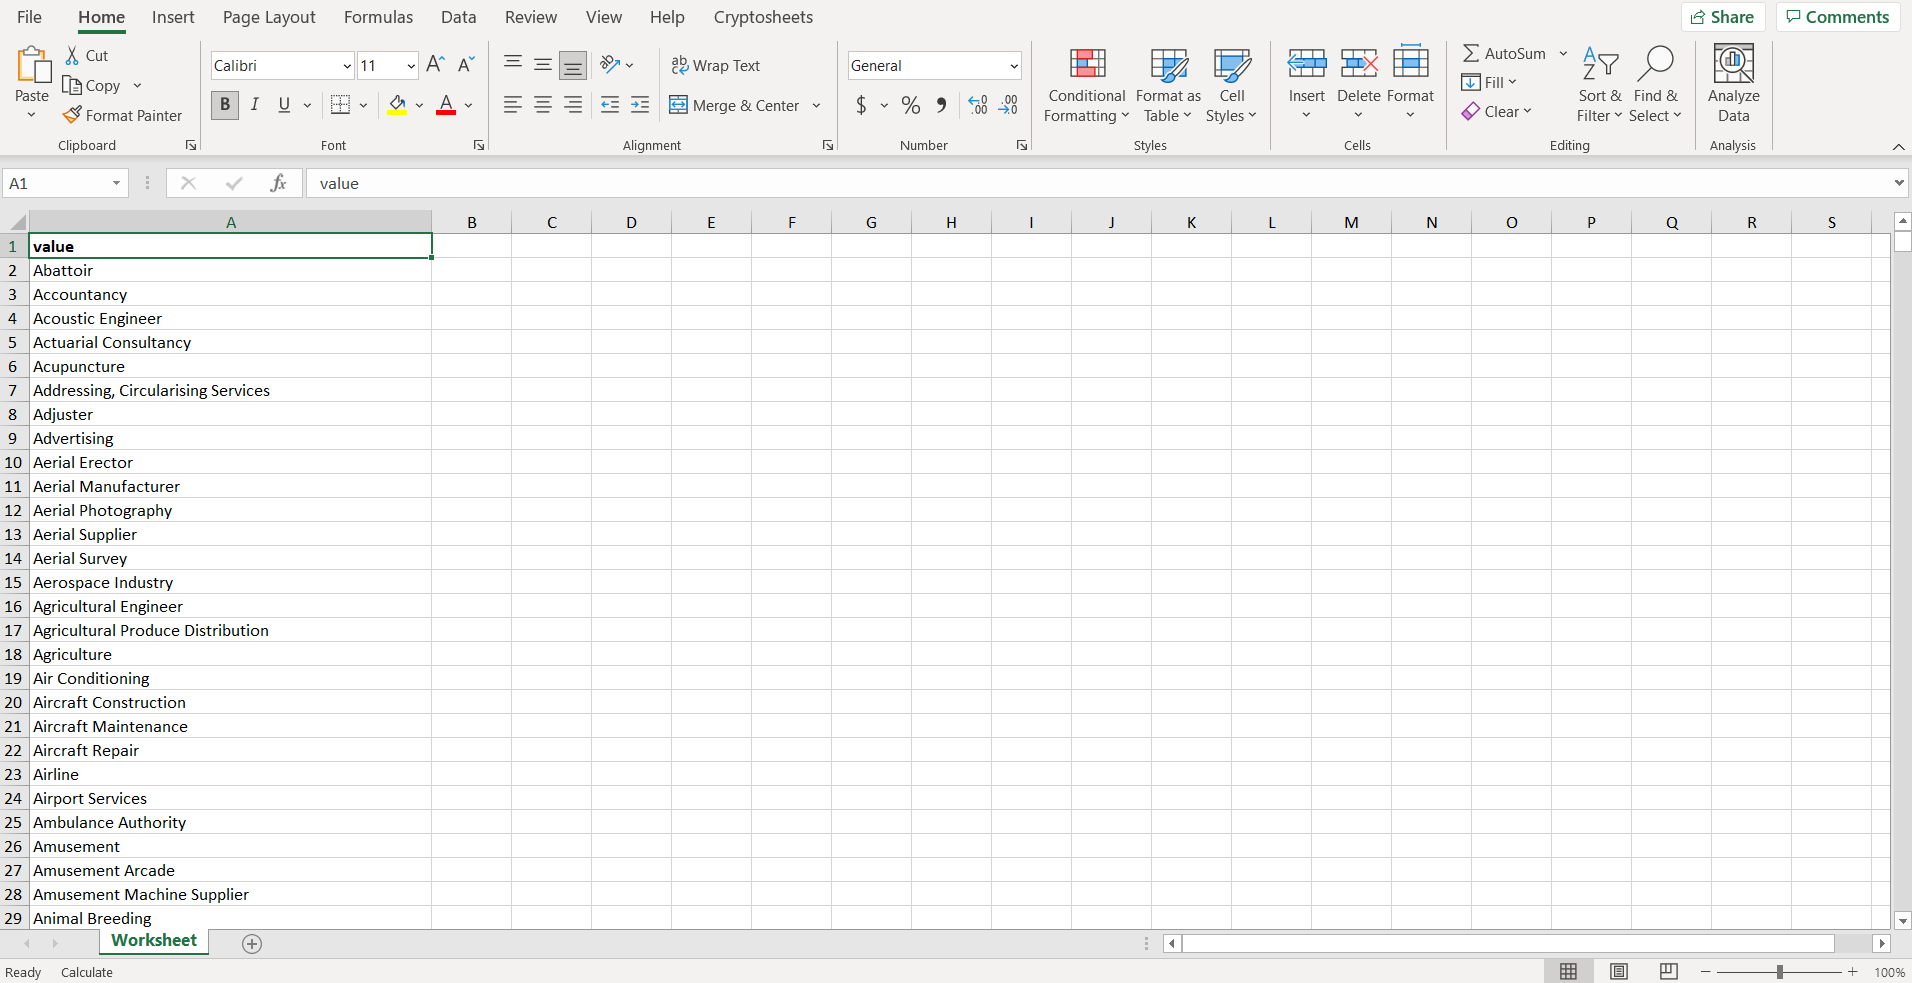
Example of an exported dataset: