Client Management
The existing client can be deleted and its information can be updated. It is possible to add additional addresses/contacts, check on documents, quotes, policies and invoices, that are related to the client.
Remove Client
To remove the existing client, hover over the three dots on the right of the field and click Remove.

Edit Client
Click on the name of your client in the list (or hover over the three dots on the right of the field and click Edit) and you will be redirected to the Client Details page.
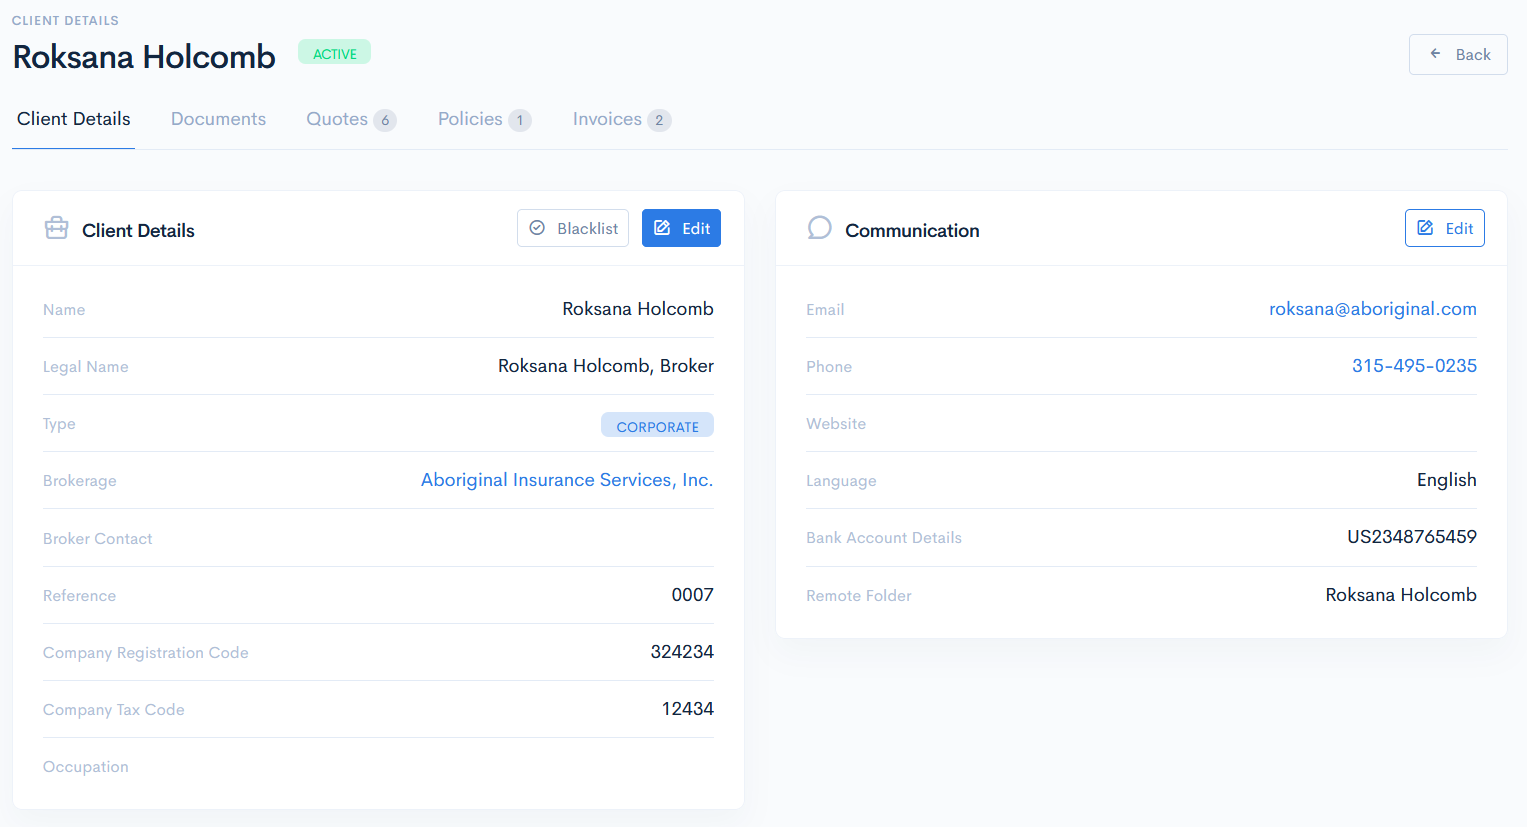
Client Details
This page has the following segments:
- Client Details
- Documents
- Quotes
- Policies
- Invoices
The number near the segment name shows how many items the segment contains.
Edit details and communication info by clicking the Edit button.
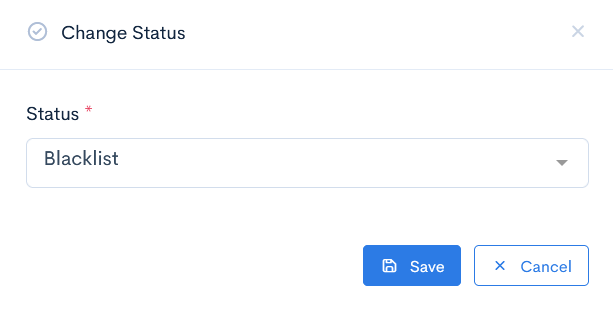
Clients can have three statuses, on which depends whether the client will be active or inactive:
- Blacklist - the client is blacklisted, but is still considered as active.
- Closed - the client is inactive.
- Open - the client is active.
Click the button next to Edit to change the client status. Click Save.
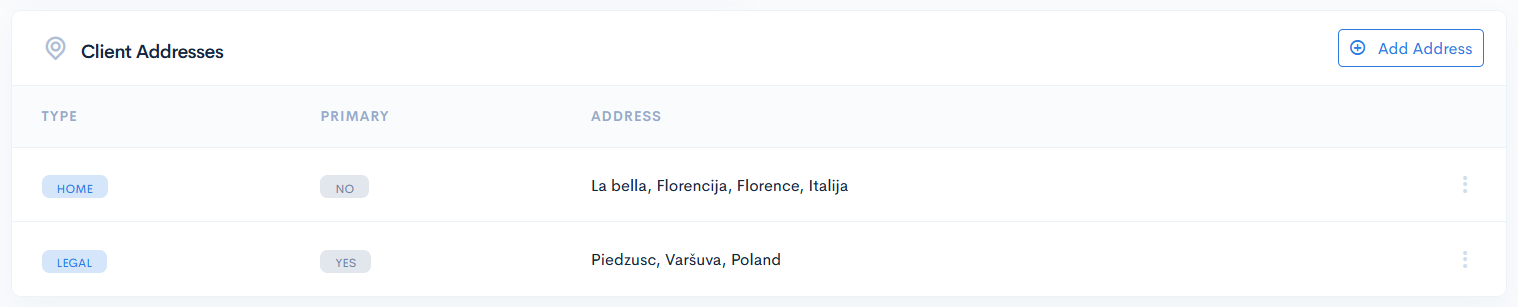
To add a new address, click the Add Address button in the Client Addresses section. Select if this address is primary, set the type and enter the details. Click Save.
To add a new client, click the Add Contact button in the Client Contacts section. Select if this address is primary, and enter the details. Click Save.

To edit or remove the address or contact hover over the three dots on the right of the field and click Edit or Delete.

Documents
In the Documents section you can see upload/download various documents (such as schedules, certificates, statements, invoices, reports, quotations, etc) related to the client.
It is possible to upload the documents in two spaces: System and OneDrive.
By default, the documents are stored in the system disk, but if OneDrive is setup, then it automatically syncs with the system, and documents appear in a designated OneDrive folder.
System
When uploading documents to the system, for better structurisation you can create a new folder. Click the New Folder button, enter the Folder Name and click Save.
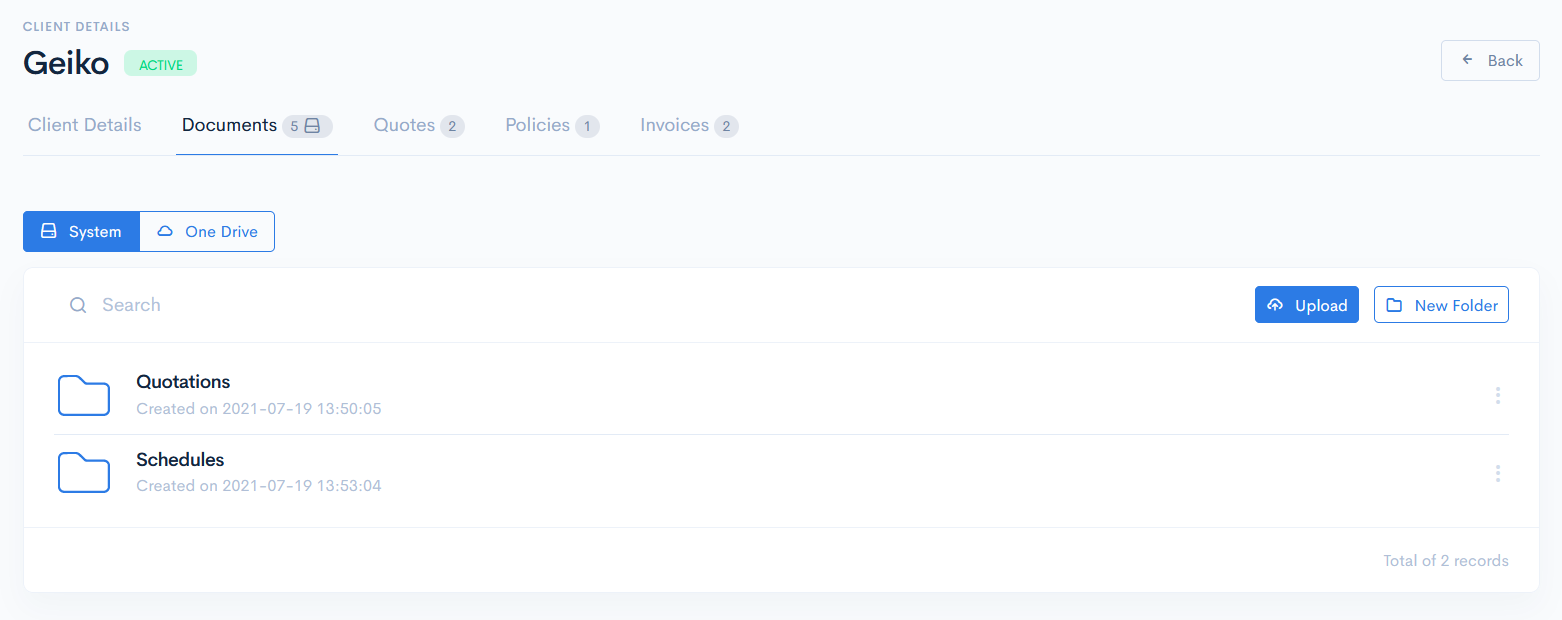
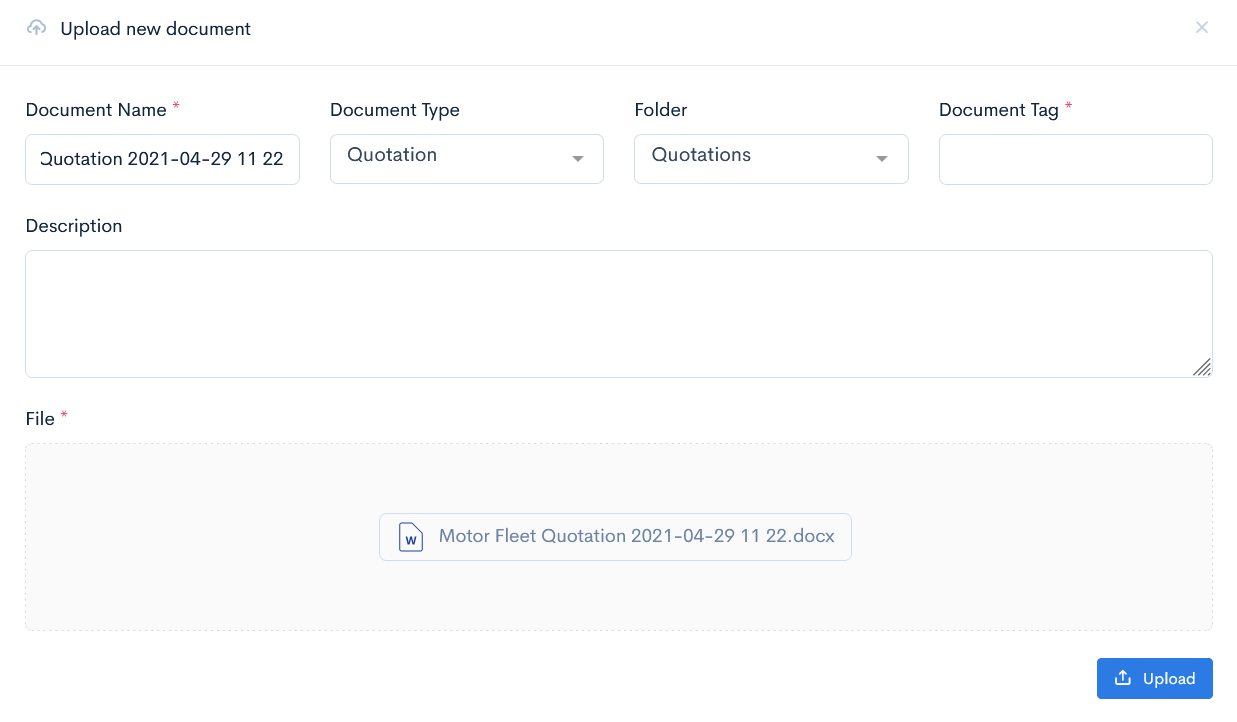
To upload some documents, click the Upload button. In the Upload new document window enter Document Name and Document Type, select the Folder. Drag and drop the file and click Upload.
To download, delete or move the document to another folder hover over the three dots on the right of the field and click Download, Delete or Move.

{success} Clicking the name of a document will trigger the document download.
OneDrive
To manage documents in OneDrive, click the OneDrive button. As there is only one unique default folder, which is automatically assigned to the newly created client, all the documents are put in one place. At this moment there is no possibility to create a sub-folder.
To upload some documents, just click the Upload button and drag a file to the Upload New Document window. Click Upload.
To download or delete the document, hover over the three dots on the right of the field and click Download or Delete.
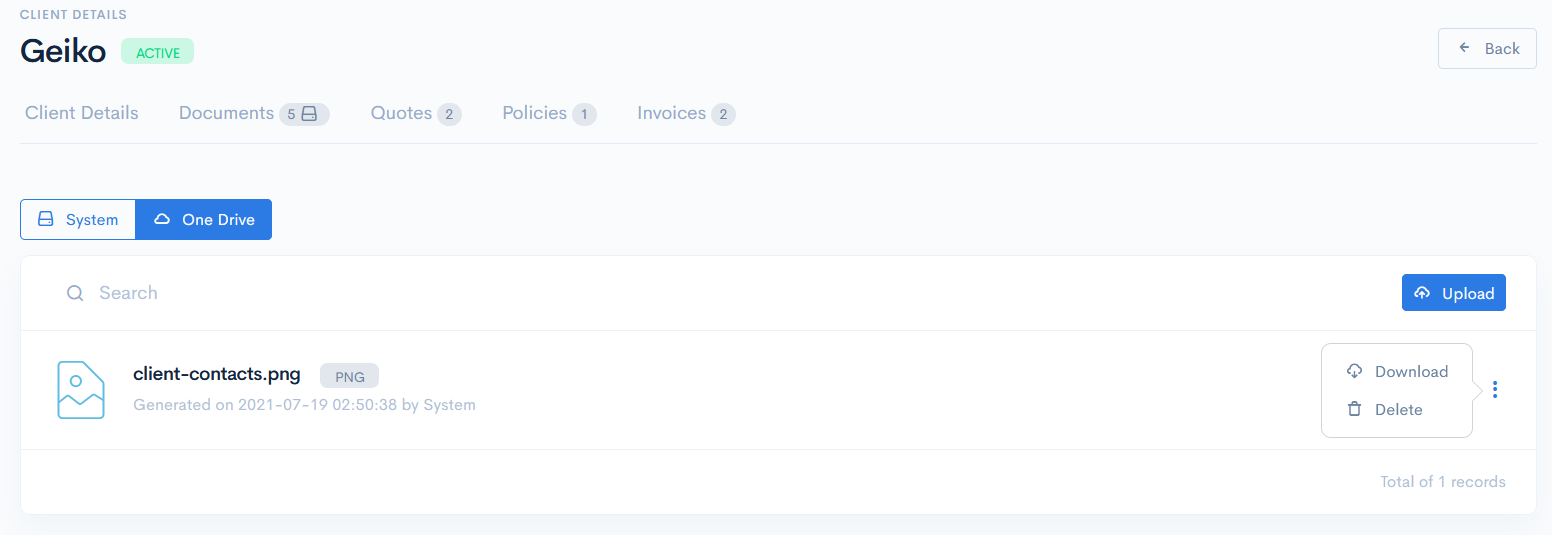
{success} Clicking the name of a document will trigger the document download.
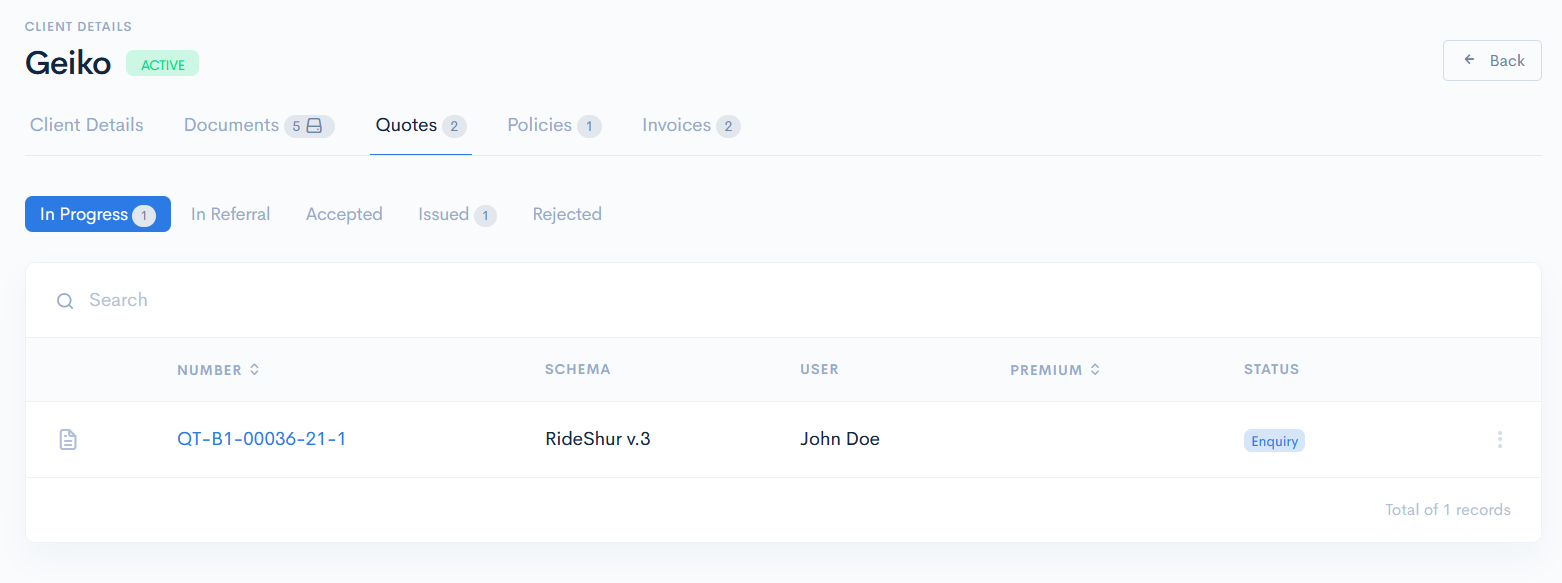
Quotes
In this section, you can see and manage all the quotes, which are related to the client (the client is assigned as a policyholder in a quote). To open the quote, click on its number.
For more information on quotes, see Quotes.
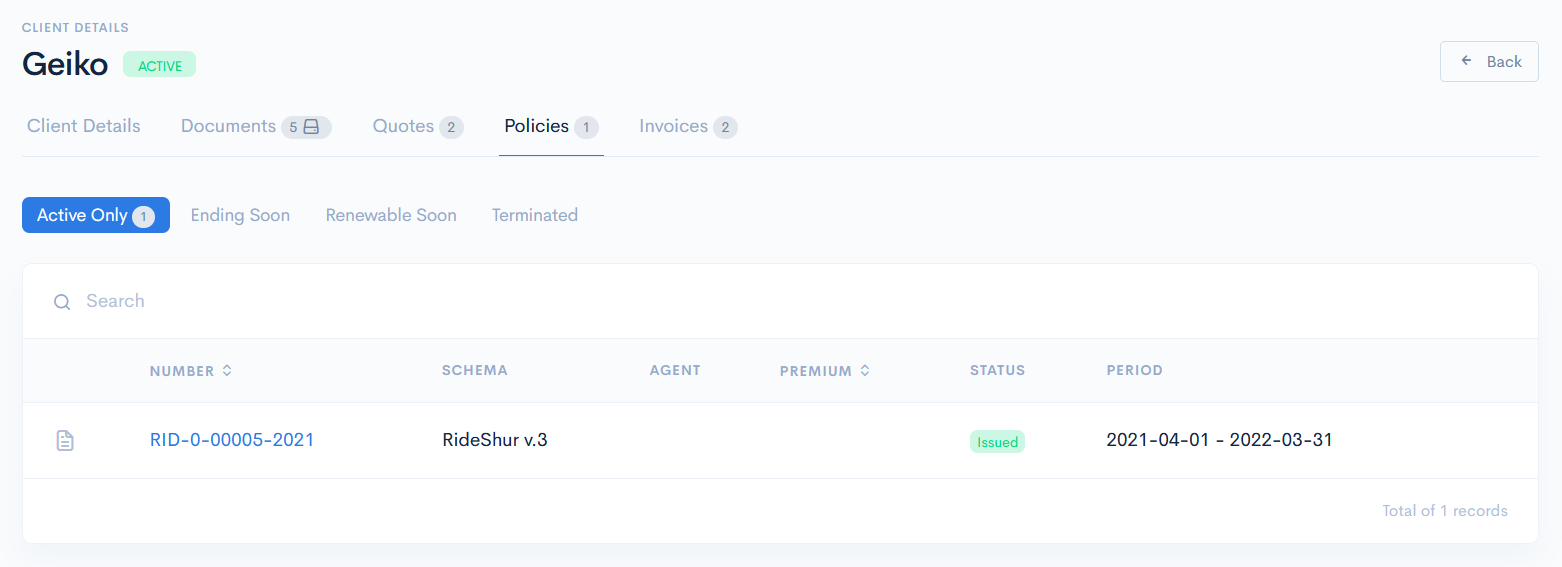
Policies
Here you can see and manage all the policies, which are related to the client (the client is assigned as a policyholder). To open the policy, click on its number.
For more information on policies, see Policies.
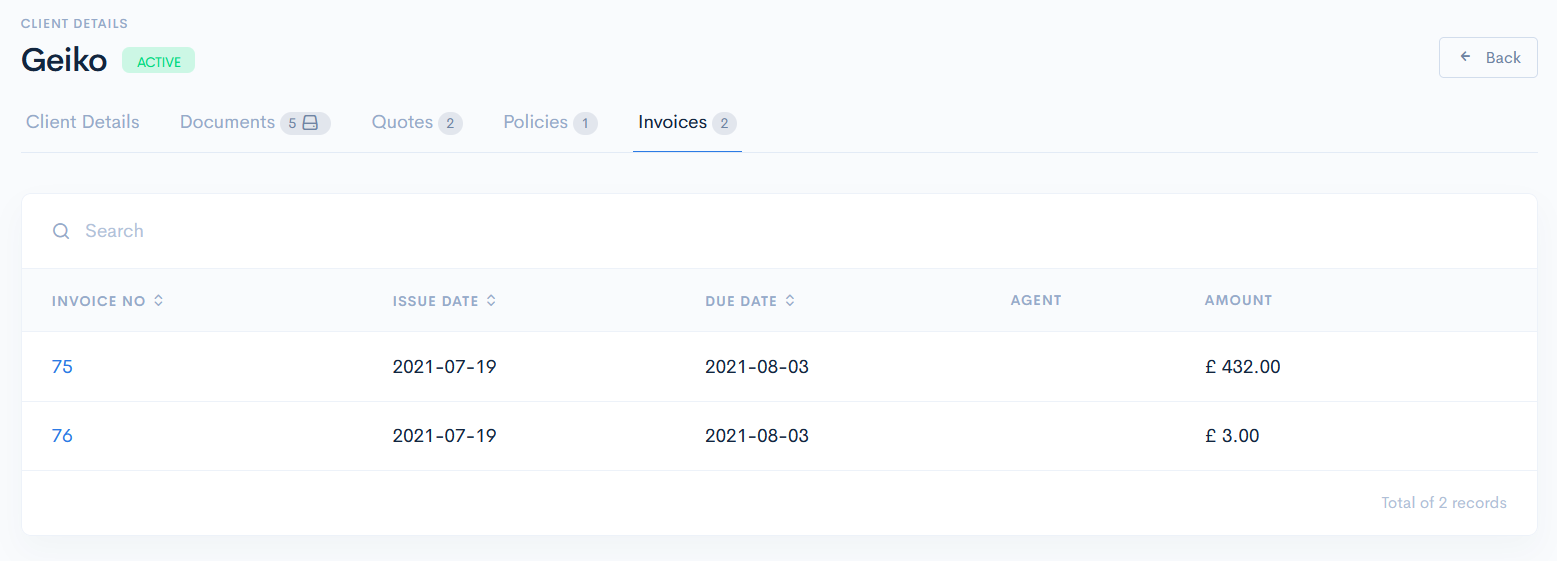
Invoices
Here you can see all the invoices, which are related to the client. To open the invoice, click on its number.
For more information on invoices, see Invoices.