Binder Management
In this chapter we will discuss how to edit a master binder, assign a child binder and to add sections to the child binder.
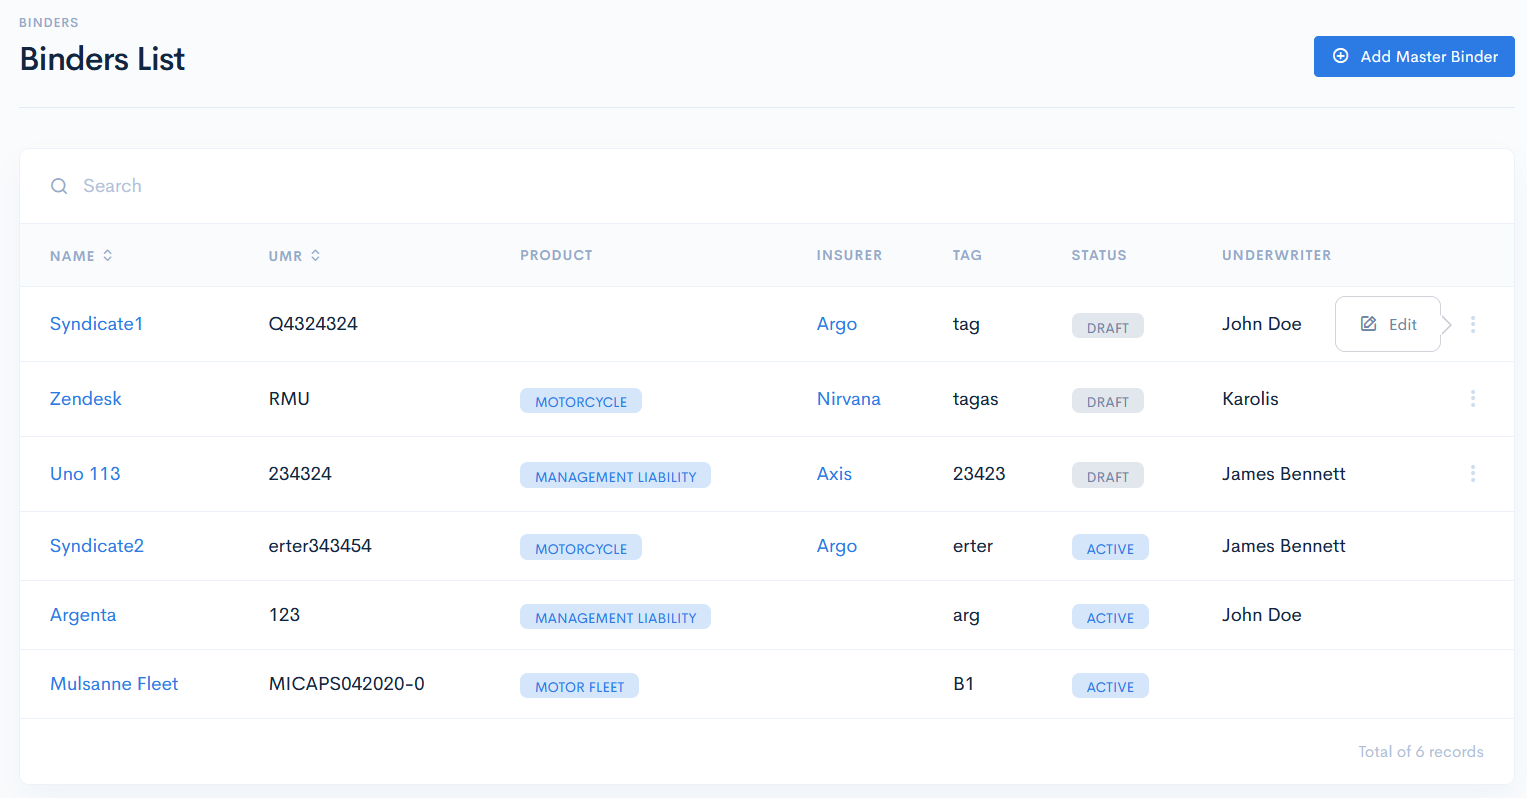
Edit Master Binder
If a master binder has the status of Draft or Expired, then it can be edited. To do so, in the binder list page hover over the three dots on the right of the field and click Edit. In the new window update the info and click Save.
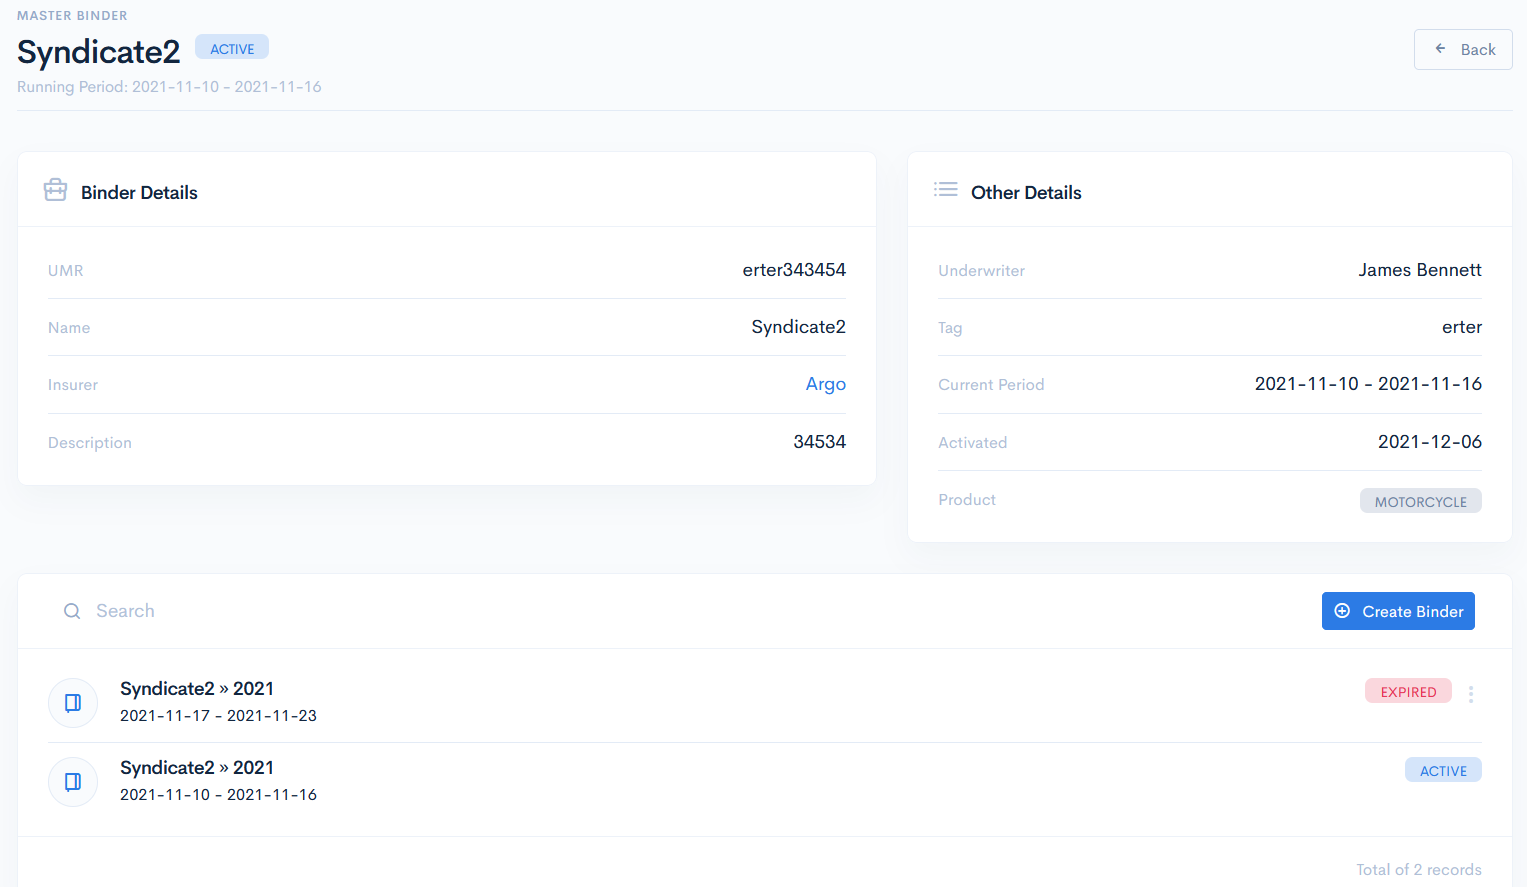
Master Binder Page
To open a master binder, click its name in the binder list. The Master Binder will open. Here you will find three sections:
- Binder Details - shows binder UMR, name and description. Cannot be edited when the binder status is Active.
- Other Details - shows underwriter name, tag, current period (effective child binder period, only available when the binder status is Active), date of the child binder activation, product name.
- Child Binders List - a list of all existing and expired child binders.
If a binder is active, then the current period will also be shown under the name of the binder as Running Period.
Create Child Binder
To create a child binder, click the Create Binder button. A new window with the following fields will appear:
| Name | Name of the binder, read-only. |
| Product | The product, which your binder is dedicated to, read-only. |
| UMR | Unique Market Reference (binder number). Can be the same as master binder, or different. |
| Main Wording | Wording name. |
| Default Underwriter | Select an underwriter form the database. Can be the same as master binder, or different. |
| Tag | Unique identifier of a binder, which is used for value mapping in schemas. Can be the same as master binder, or different. |
| Activation Date | Set the child binder activation date. On that date you will have to activate binder. |
| Start Date | Start of the effective child binder period. |
| End Date | End of the effective child binder period. Usually the period is a year. |
| Underwriting Year | Effective year of a binder. |
| Description | Enter any additional useful comments. |
Click Save. Now the child binder will appear in the list.

{info.fa-info-circle} Fields marked with a red asterisk (*) are mandatory.
{info.fa-info-circle} You can create several child binders, just make sure, that their periods do not overlap.
Child Binder Page
Child Binder Data
When you created a child binder, you will be automatically redirected to its page, Binder Data section. Here you can edit the child binder, activate it or renew. If you click the Activate button, child and its master binder will receive the Active status. When the binder period is coming to an end, you can also renew it, by clicking the Renew button. The period then will be extended for one more year. In case of an already active binder, the previous child binder will get the Expired status. The binder can also be expired manually by clicking the Expire button.
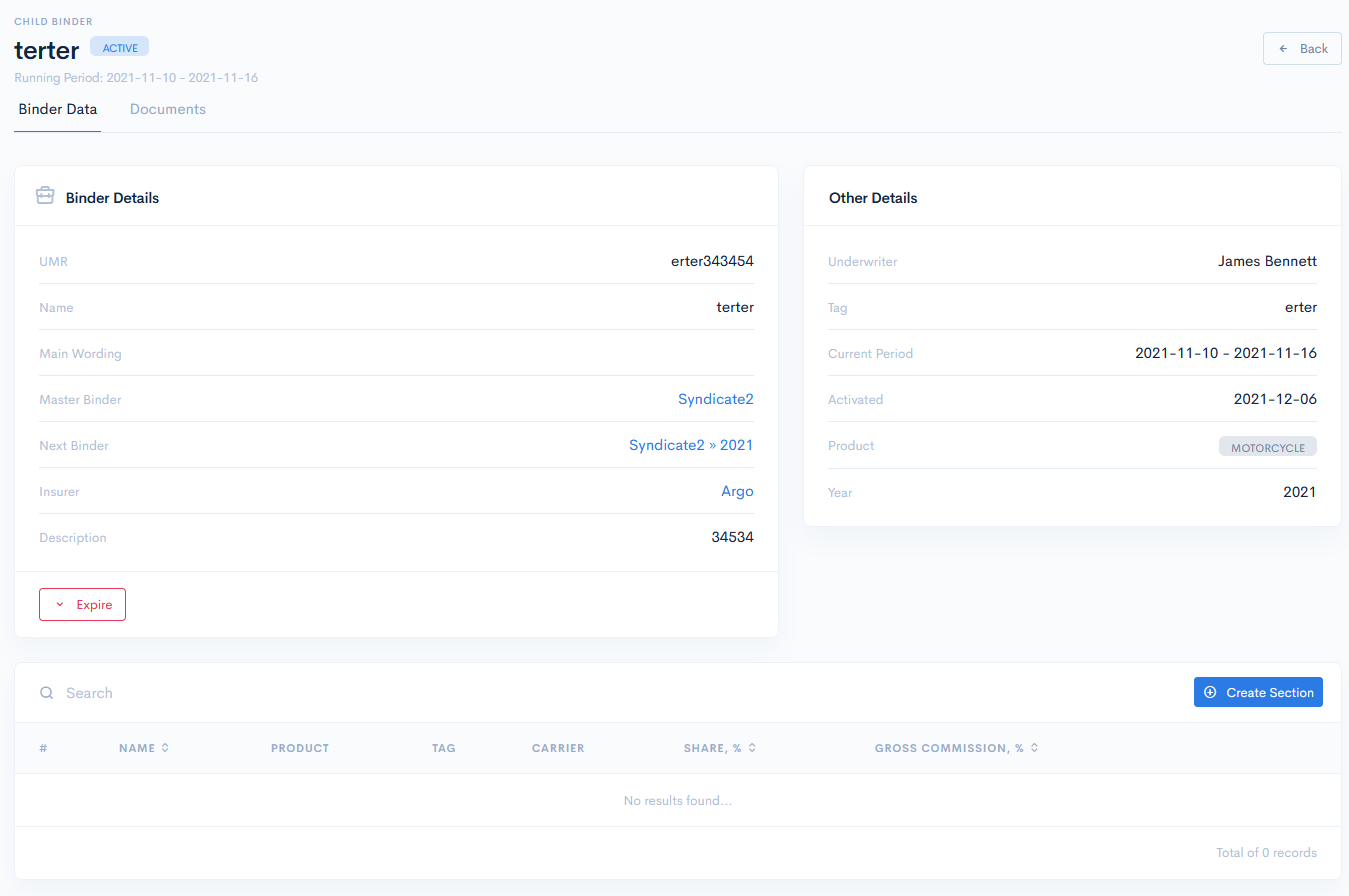
Every child binder can be assigned a section with a product, where you define the share and comissions of the insured product. The section list is found at the page bottom. Click the Create Section button and you will be redirected to the Create Binder Section window. The following fields should be filled:
| Name | Name of the binder section. |
| Index | Select a row number for your section. |
| Carrier | Select the insurer from a database. |
| Product | Select the insurance product. |
| Share | Define the share percent. Shares can be multiple, and in total they always have to be equal to 100%. Default value: 100 |
| Gross Commission | Define the gross commission. |
Click Save. The section will now appear in the list.
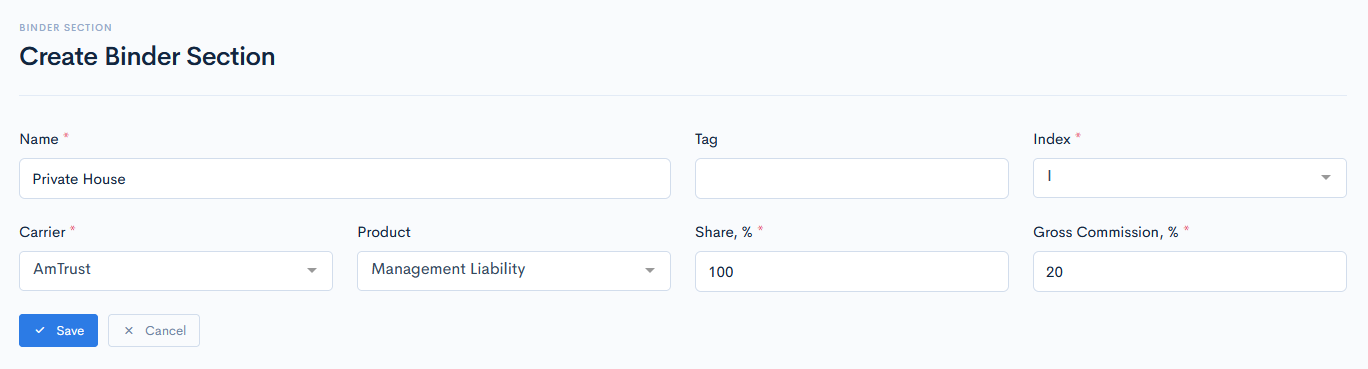
{info.fa-info-circle} Fields marked with a red asterisk (*) are mandatory.
Sections can be edited, removed, or an additional share can be added. To perform these actions, hover over the three dots on the right of the row and click Edit, Add Share or Remove.

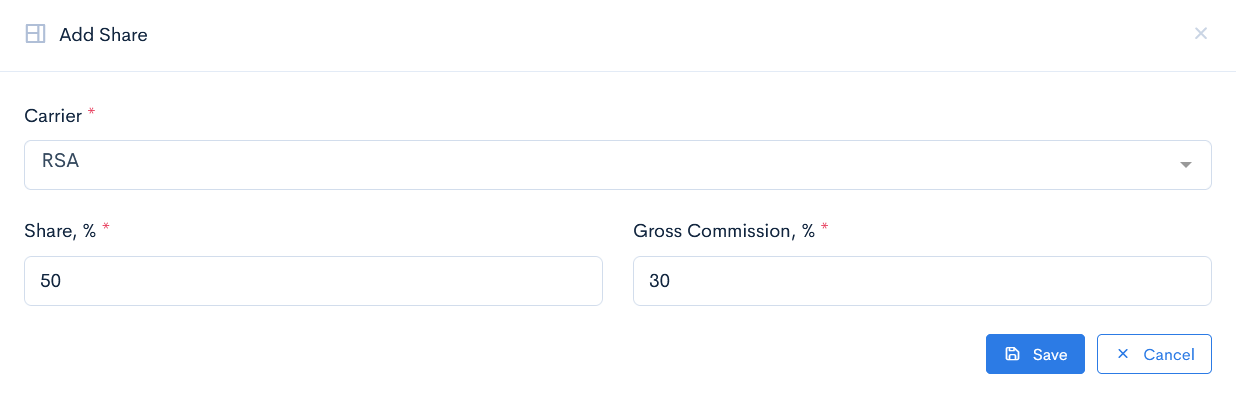
If you clicked Add Share, then select another insurer and define its share and gross commission. Click Save and the new share will appear in the list.
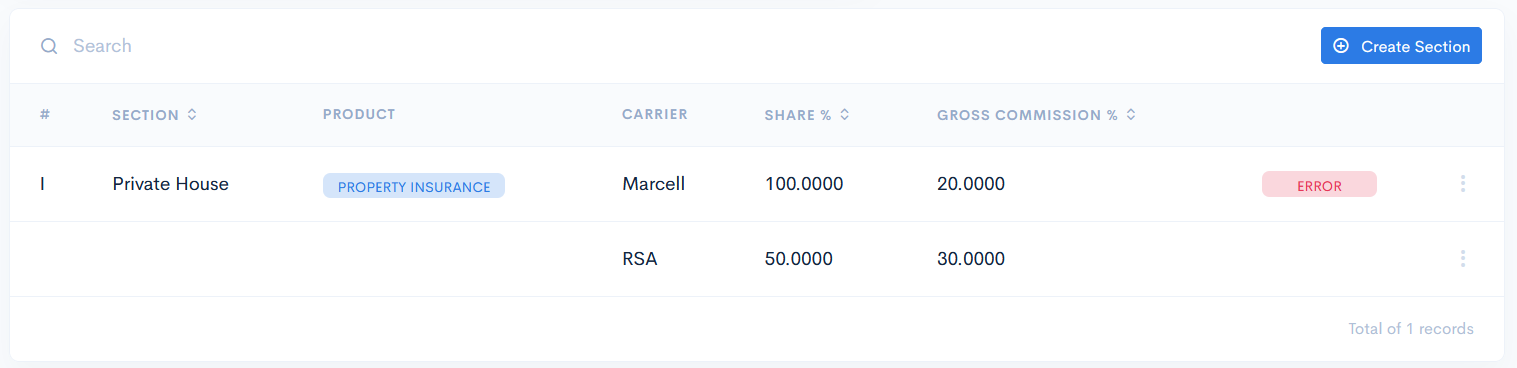
As we can see, an error appeared in the section. This is because shares in total are now 150%, and they must be 100%. Therefore, you have to edit the section and change the first share.
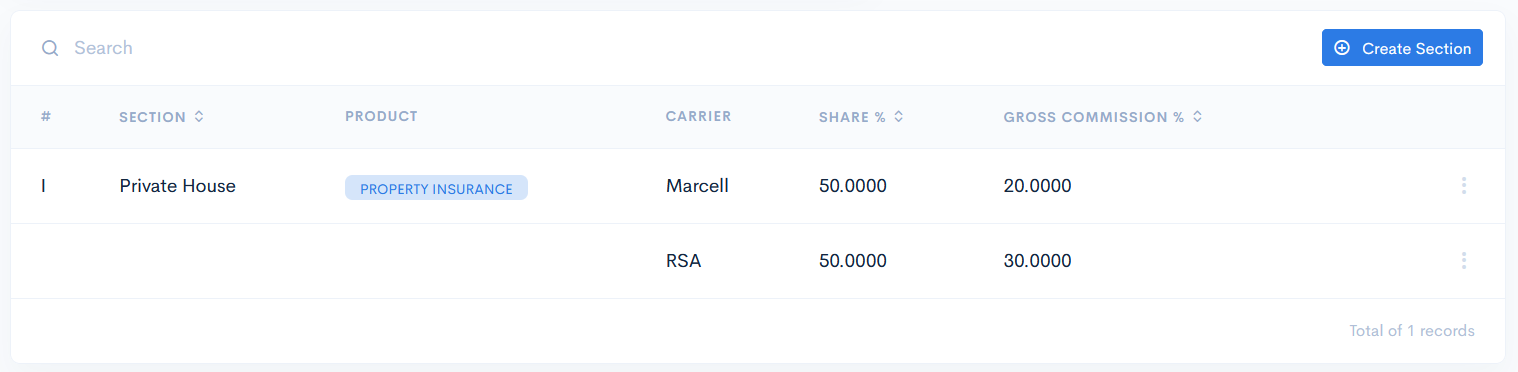
After changing the share, the error dissappears:
Documents
Every child binder has a possibility to store any documents related to it. Go to the Documents tab and create a new folder by clicking the New Folder document, or upload the files directly into the space by clicking the Upload button.
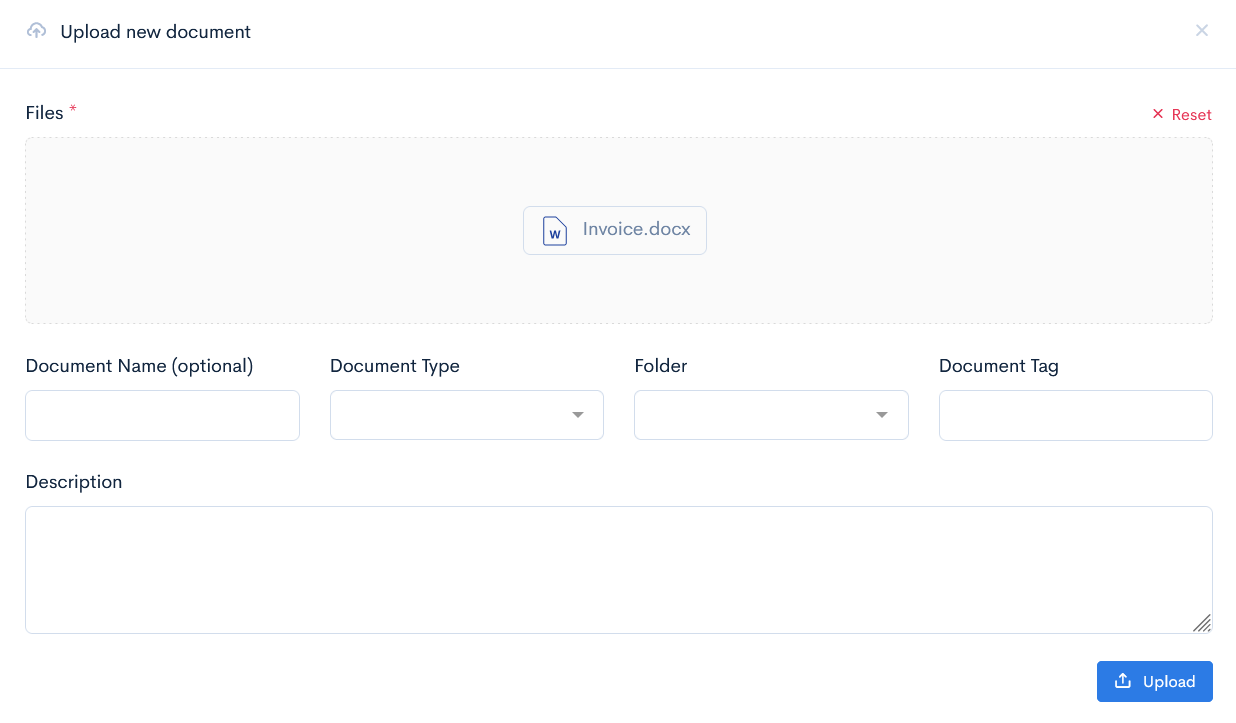
When uploading the documents, you can just drag and drop the file, or additionally enter a document name, select type (by default the system will select Other), select a folder if there is such, enter a document tag (by default the system will assign a random tag), description.
Click Upload.
Example of an uploaded document with the automatically generated tag:
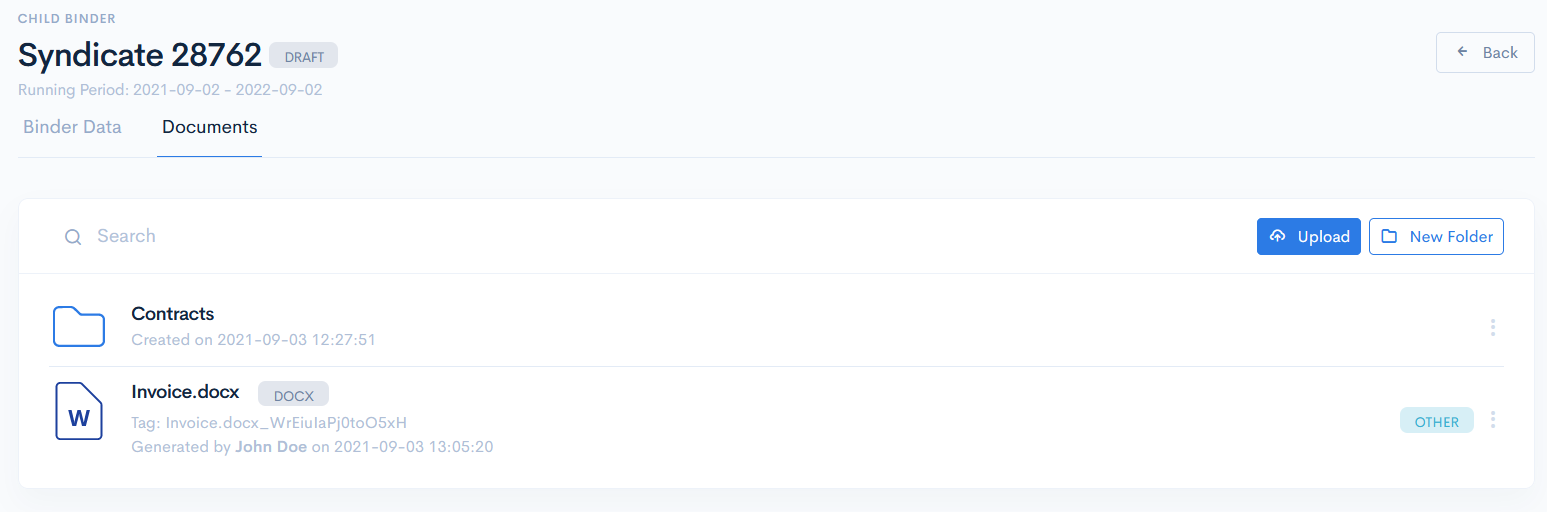
Every document can be downloaded, deleted or moved to another folder. For these actions hover over the three dots on the right of the field.
