Create Scheduled Task
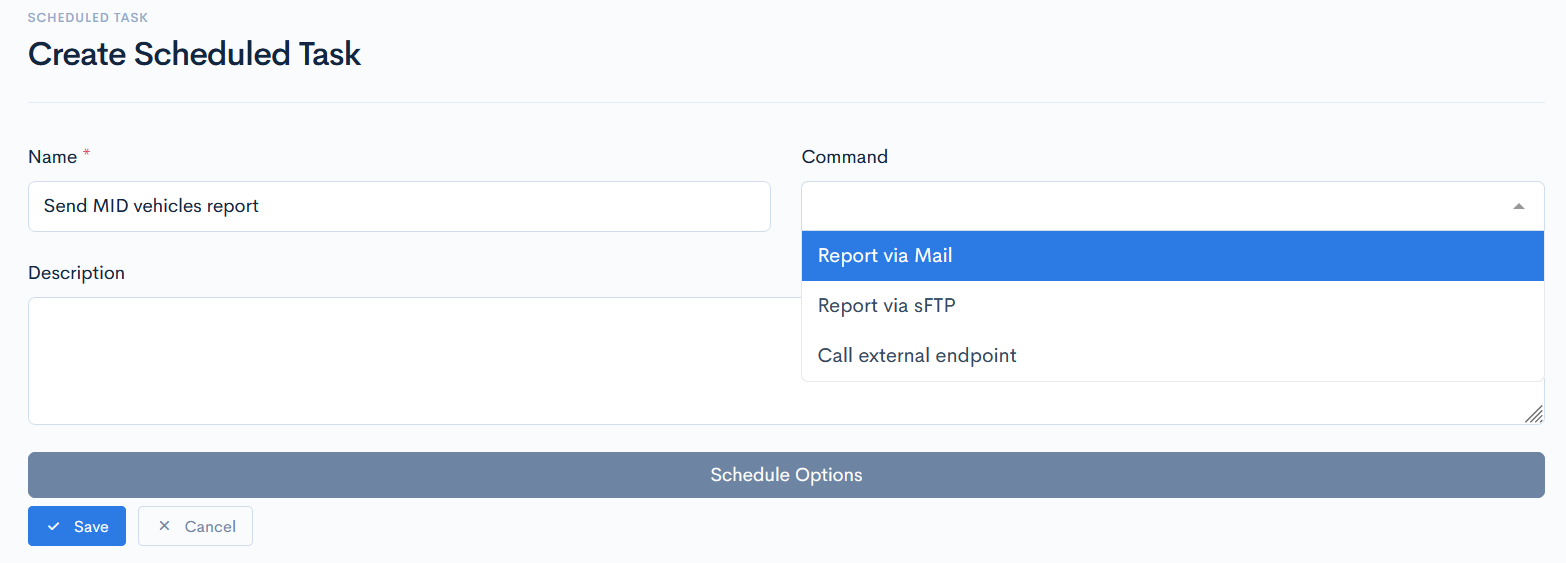
To create a new task, click the Create Scheduled Task button. In the new window enter the Name of the task and select how the info will be sent. Depending on your selection, different JSON structures will be written.
Schedule Options
For the funcionality to properly work, you need to set the period, when the task will be executed. Click the Schedule Options button. You have two options:
- Scheduler
- Custom
Scheduler
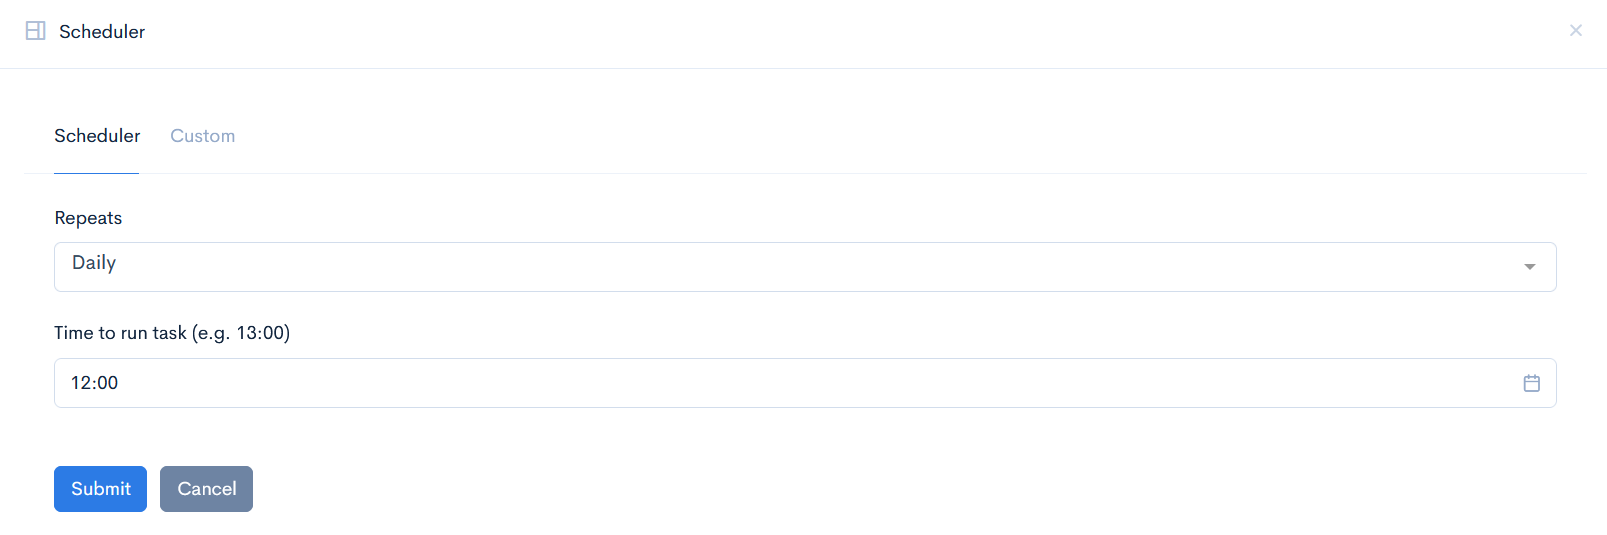
In Scheduler you will be able to select from the system's predefined time options.
From the Repeats drop down list select how often the task will be executed:
- Daily - the task will be executed every day, additionally time needs to be selected.
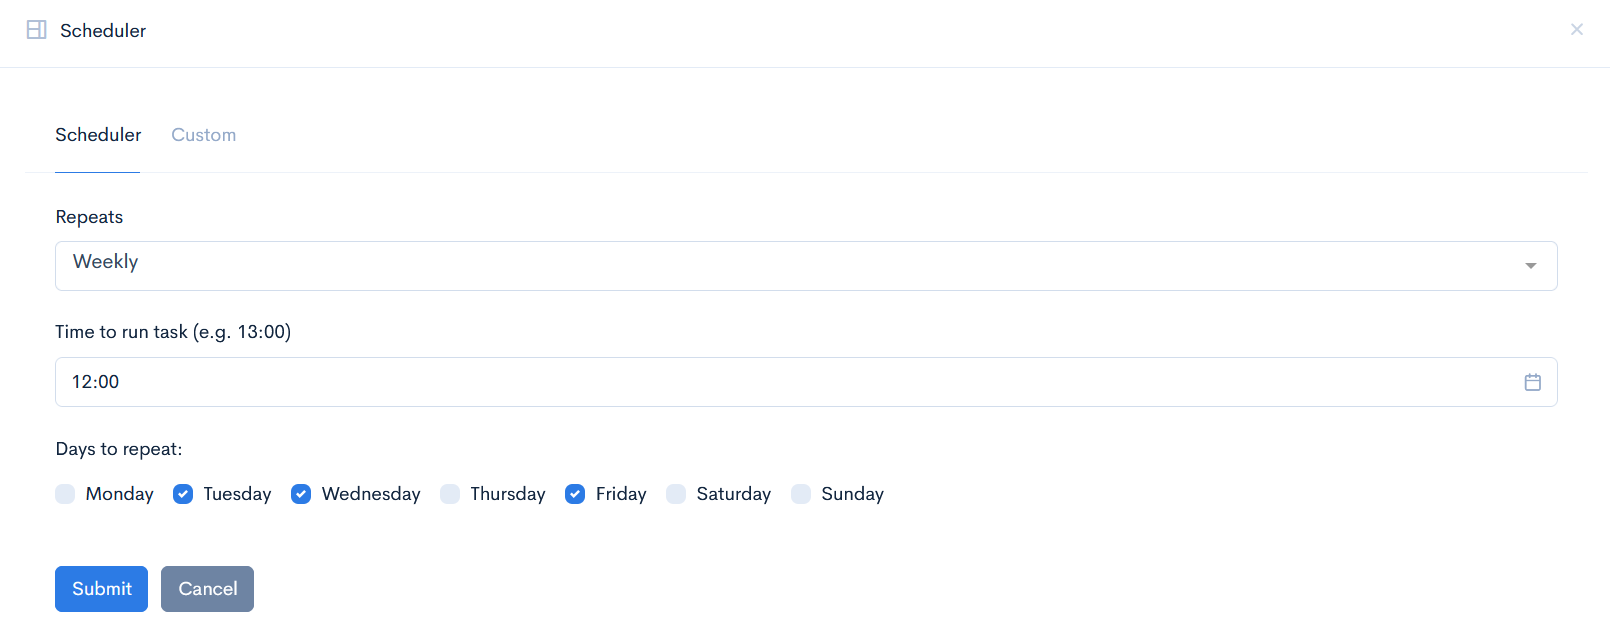
- Weekly - the task will be executed only on the defined days, additionally time needs to be selected.
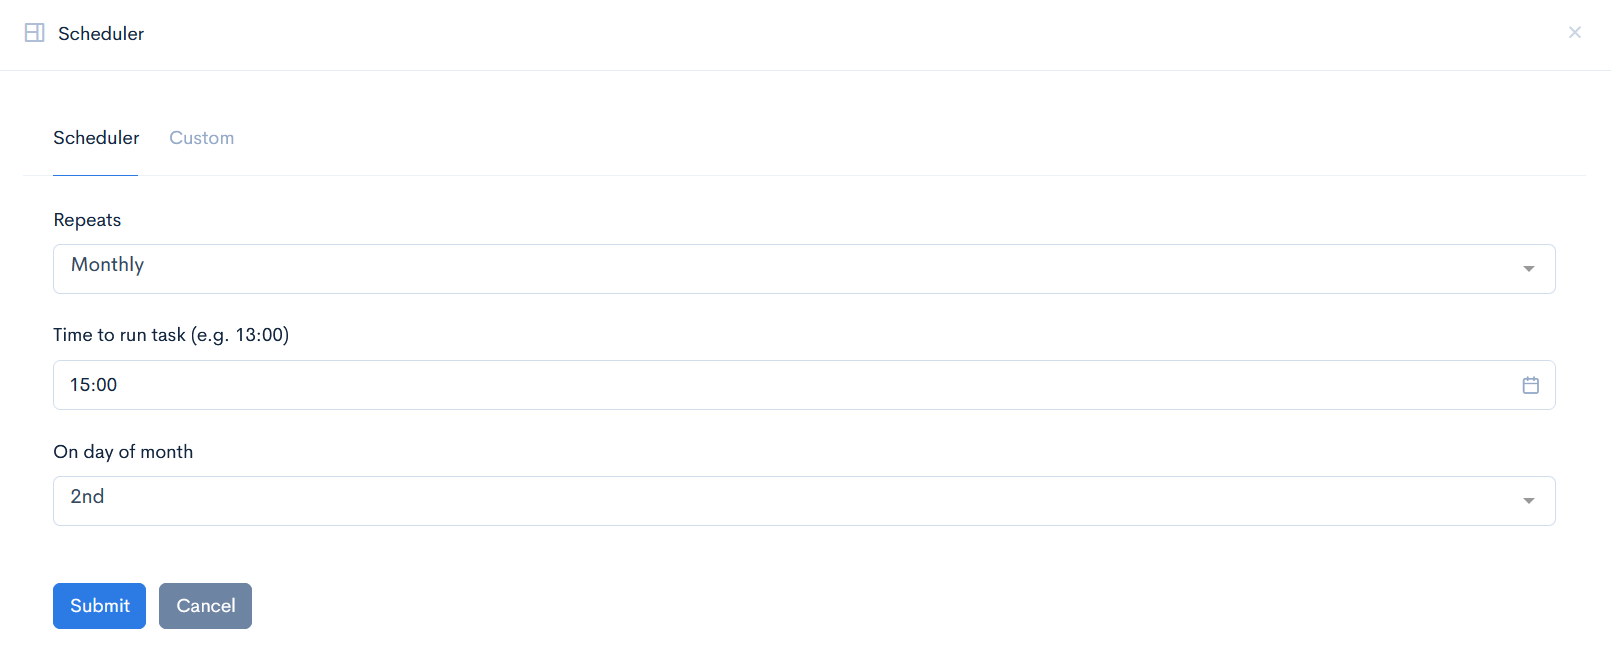
- Monthly - the task will be executed every month, once a month, additionally time needs to be selected.
- Yearly - the task will be executed only on the defined month, once a month. Additionally time needs to be selected.
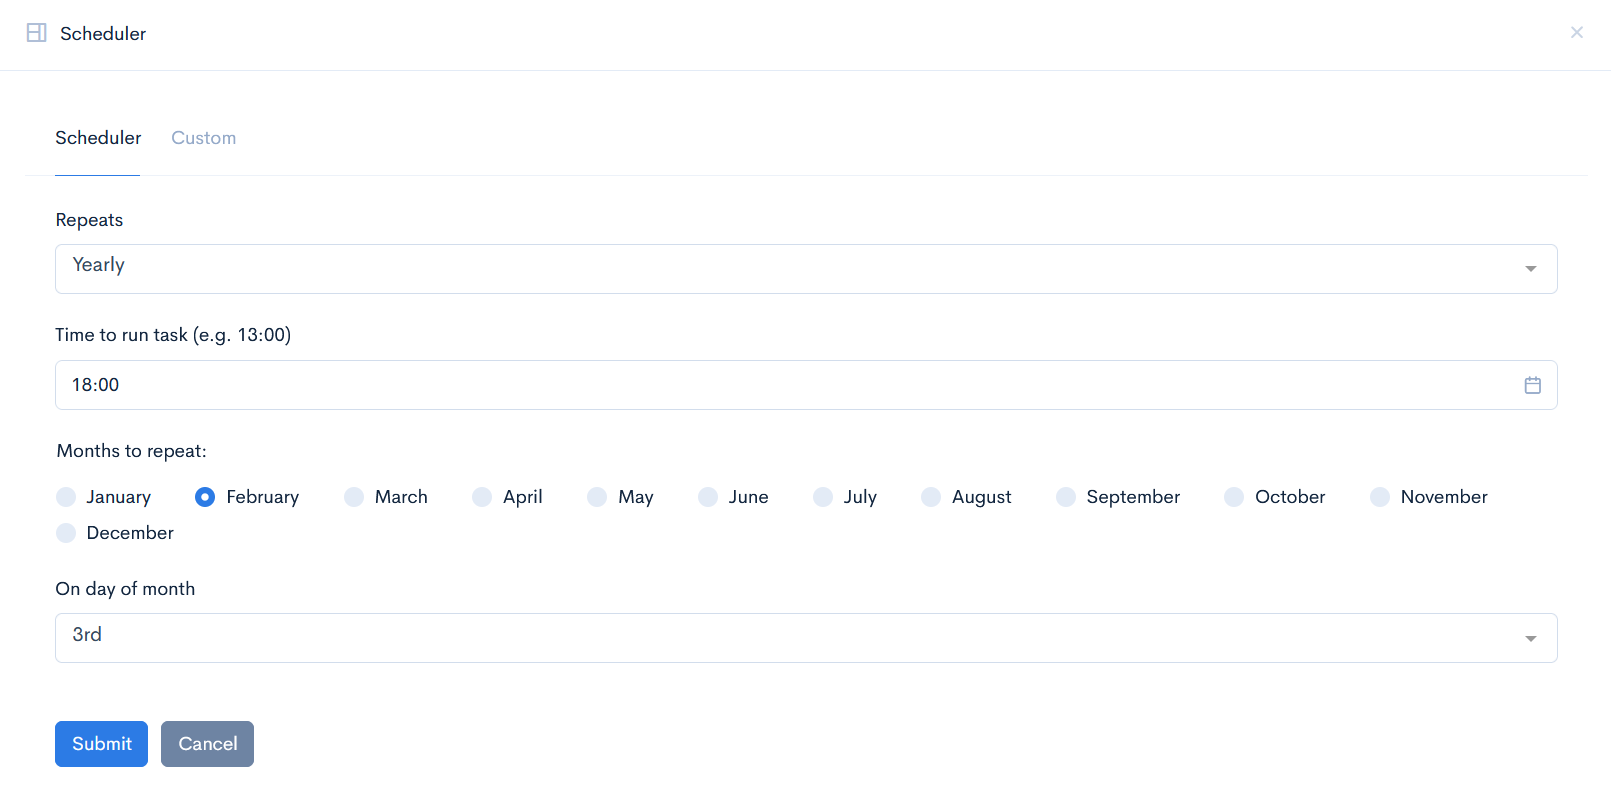
Click the Submit button to save the settings.
Custom
In this tab enter Custom cron expression. For more information on what cron expression are, please read this document.
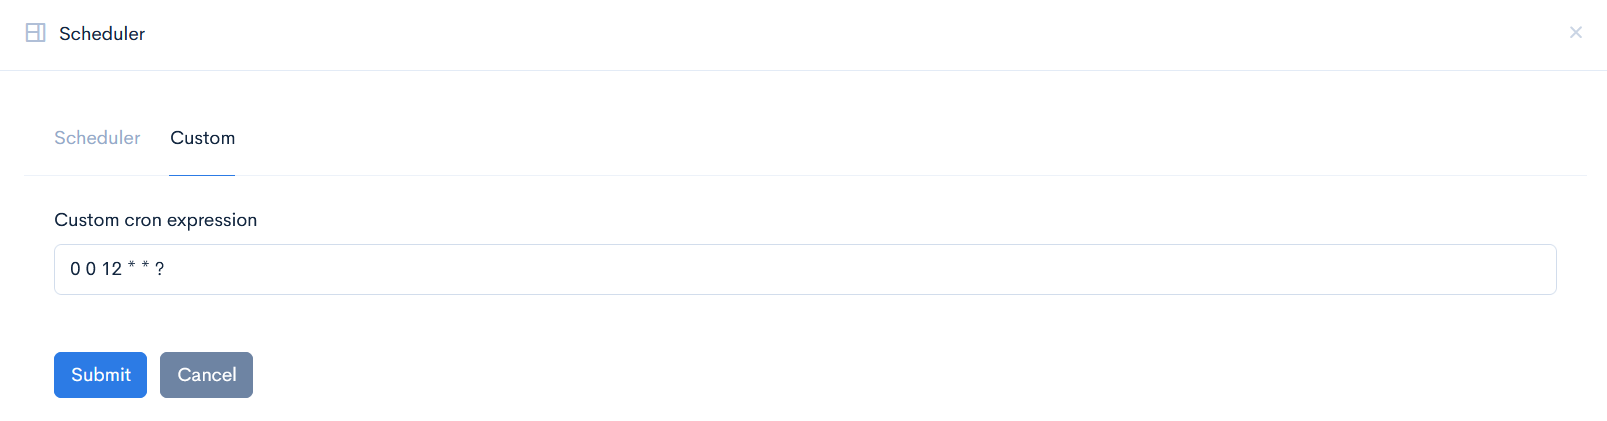
Click the Submit button to save the settings.
{info.fa-info-circle} Cron expression will not convert into the usual date format.
Report via Mail
If you have selected to send a report to your email, click the Auto-fill parameters button and the specific JSON structure will appear in Command parameters:
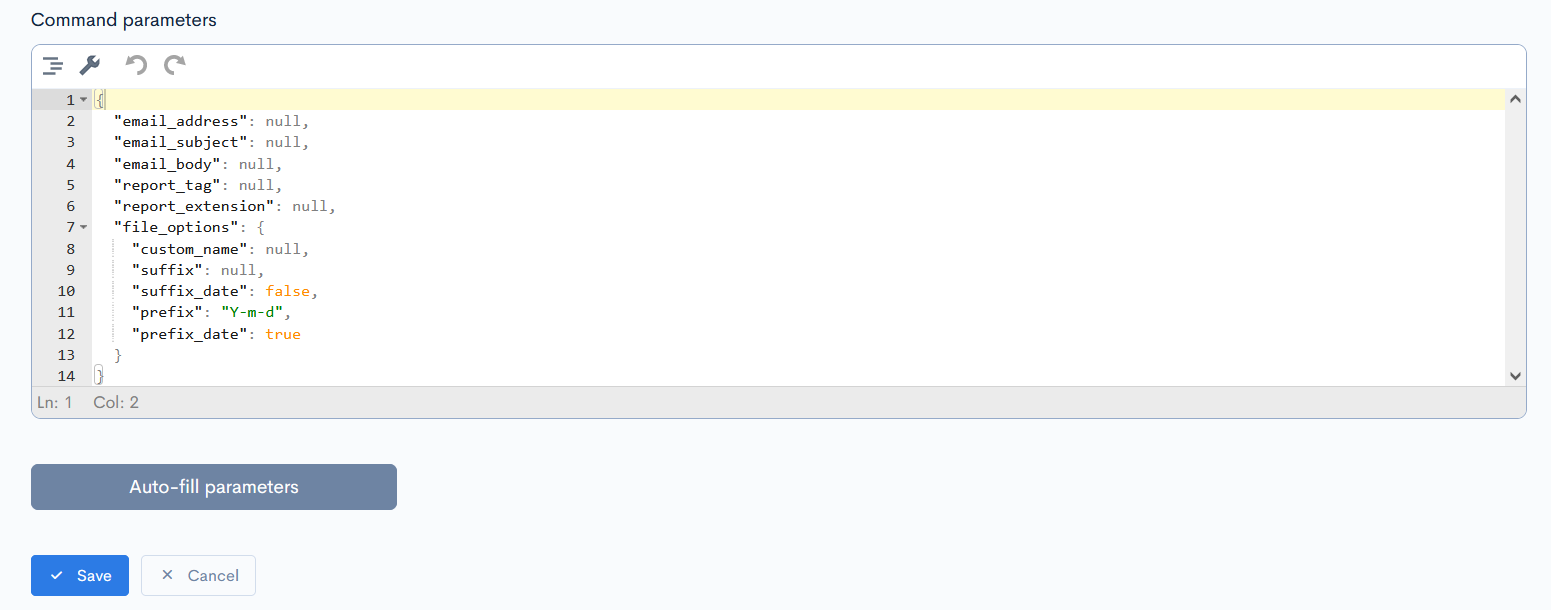
Here you have to enter values instead of null.
Example:
{
  "email_address": "theo.soraan@aaxelinsurance.com",
  "email_subject": "Your report",
  "email_body": "Your have received the generated report.",
  "report_tag": "mid_vehicle",
  "report_extension": "xlsx",
  "file_options": {
    "custom_name": "mid_vehicle_report",
    "suffix": "Y-m-d",
    "suffix_date": true,
    "prefix": " ",
    "prefix_date": false
  }
}
Now the file_options object is not mandatory. It is used to specify a custom name of the generated file and the date of generation:
custom name- enter any name.suffix_date- if the value istrue, then the generation date will be added after the file name.suffix- defines the date format. Only applicable ifsuffix_dateistrue.prefix_date- if the value istrue, then the generation date will be added before the file name.prefix- defines the date format. Only applicable ifprefix_dateistrue.
Click Save to save the task.
Report via sFTP
If you have selected to send a report via sFTP to the server, click the Auto-fill parameters button and the specific JSON structure will appear in Command parameters:
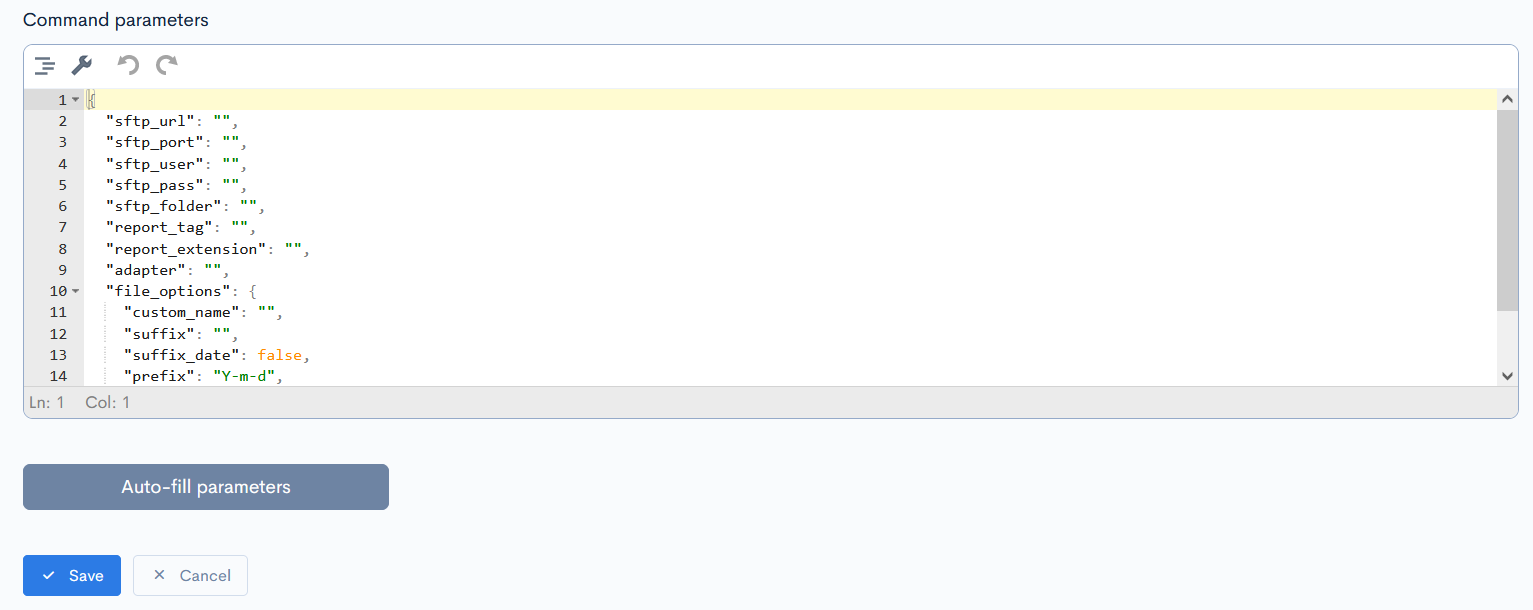
Here you have to enter values instead of null.
Example:
{
  "sftp_url": "customerftp.customer.com",
  "sftp_port": 22,
  "sftp_user": "sftp.insurance",
  "sftp_pass": "R~29Z*58Jk+f",
  "sftp_folder": "./",
  "report_tag": "mid_vehicle",
  "report_extension": "xlsx",
  "adapter": "SFTP",
  "file_options": {
    "custom_name": "mid_vehicle_report",
    "suffix": "Y-m-d",
    "suffix_date": true,
    "prefix": " ",
    "prefix_date": false
}
Now the file_options object is not mandatory. It is used to specify a custom name of the generated file and the date of generation:
custom name- enter any name.suffix_date- if the value istrue, then the generation date will be added after the file name.suffix- defines the date format. Only applicable ifsuffix_dateistrue.prefix_date- if the value istrue, then the generation date will be added before the file name.prefix- defines the date format. Only applicable ifprefix_dateistrue.
Click Save to save the task.
Call External Endpoint
If you have selected to send information to another system through an API, click the Auto-fill parameters button and the specific JSON structure will appear in Command parameters:
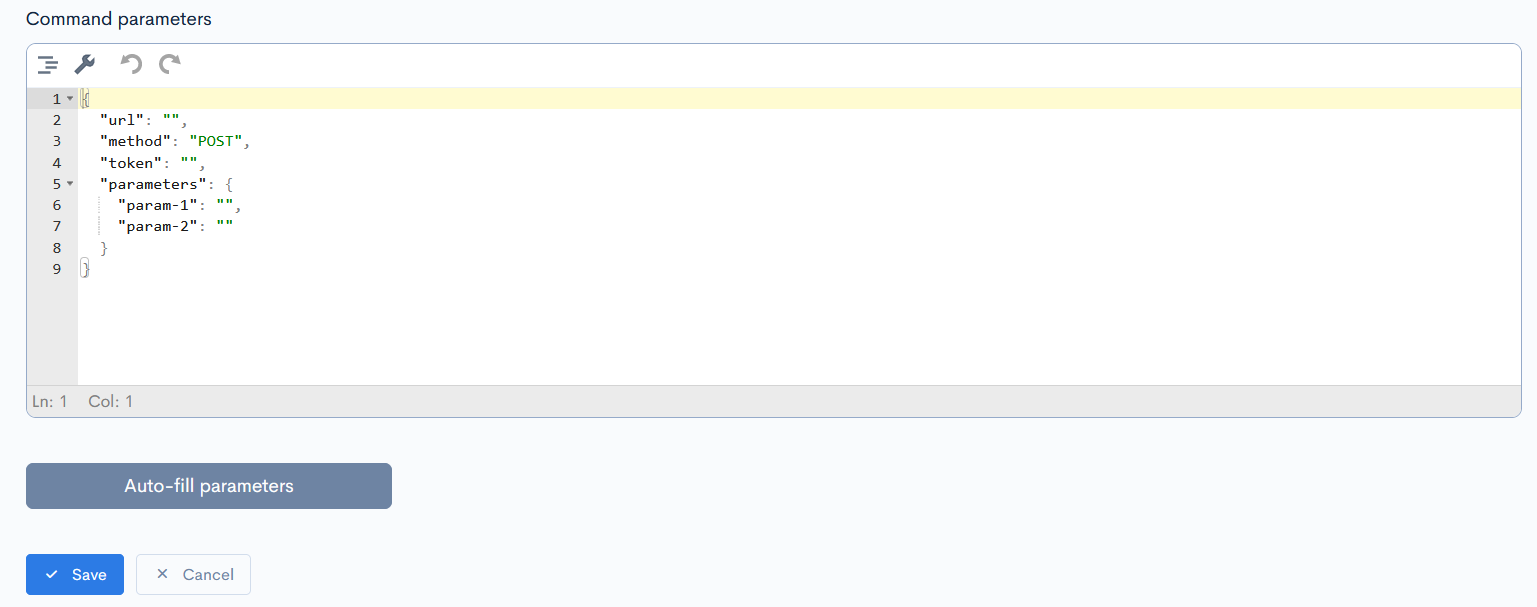
Here you have to enter values instead of null.
Example:
{
  "url": "google.com",
  "method": "POST",
  "token": "token",
  "parameters": {
    "searchQuery": "insurance charts",
  }
}
Click Save to save the task.