Create Client
Create via Main Window
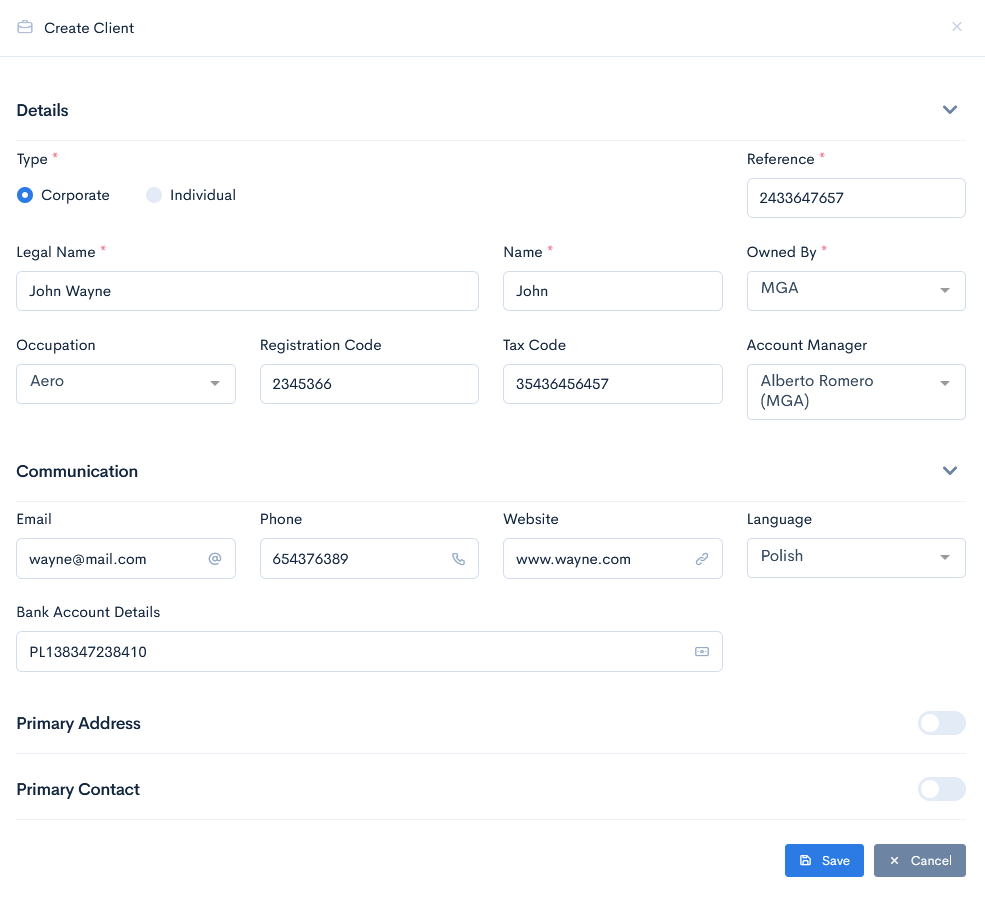
To create a new client, click the Create Client button.
A new Create Client window will appear.
There are four sections, where information should be filled:
- Details - enter reference number (or click the Generate Number button and the unique reference number will be created for you), legal name, registration and tax codes, select the type of client, entity, occupation and assign the account manager.
- Communication - enter client email, telephone number, website, bank account details and set which language the client speaks.
- Primary Address - define the primary address of the client. Select from Legal, Office, Work, Postal, Home options and fill in the address.
Note: to enter these details, firstly toggle the button at the right of the section. - Primary Contact - fill in contact details, such as first, middle, last name, code, role, telephone number, or email of a particular person, who works at the client company.
Note: to enter these details, firstly toggle the button at the right of the section.
Click the Save button to create a client. Now it will appear in the main list with a green status.
{info.fa-info-circle} Fields marked with red asterisk (*) are mandatory.
{info.fa-info-circle} When a client is created, the application automatically assigns a OneDrive folder, which is called as the client name. There you can store quote documents, related to that client.
Create via Quote
Another option to create a client would be directly via quote. In this case the quote must have a field with a plus sign:

Click the + button and a new Create Client window will appear. Fill in the details and click Save.
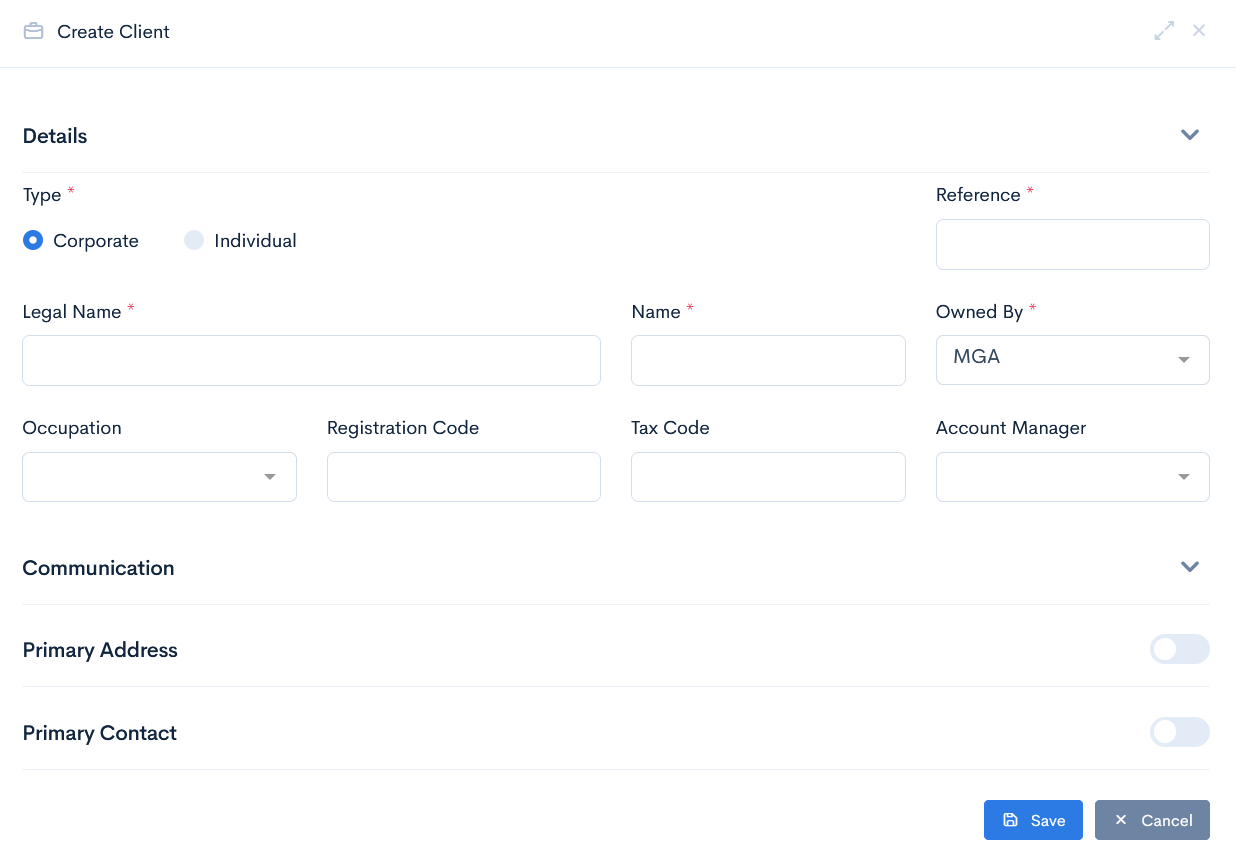
If you already have a client set by default, click the x button to remove it from the field.
